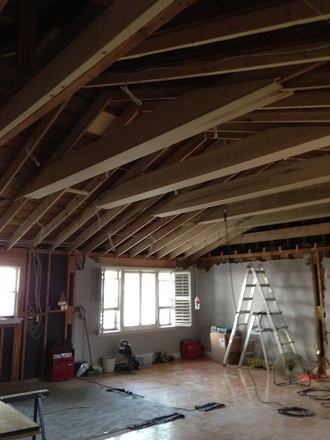
Since my post two weeks ago (Vaulted Ceilings Part 1) a considerable amount of work has been done to satisfy the structural component of this project and we have enclosed the collar ties with cladding.
Last I left off we had all 6 collar ties installed, but had only sistered the rafters which held the collar ties.
Last I left off we had all 6 collar ties installed, but had only sistered the rafters which held the collar ties.
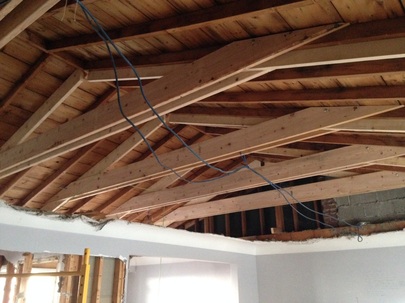
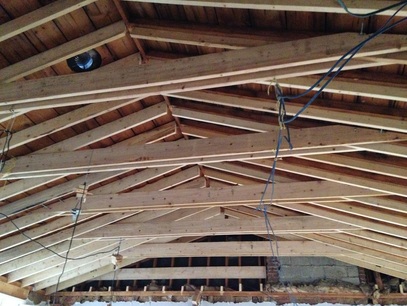
Last weekend we sistered the remaining 42 rafters. We glued the new rafter boards with PL Premium to seal them to the existing and then sunk a couple 3" screws into each end and the middle sections. We followed this up with a nail gun every 4 inches all the way along.
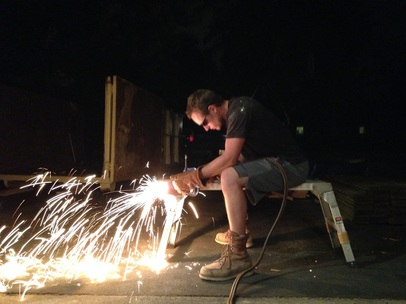
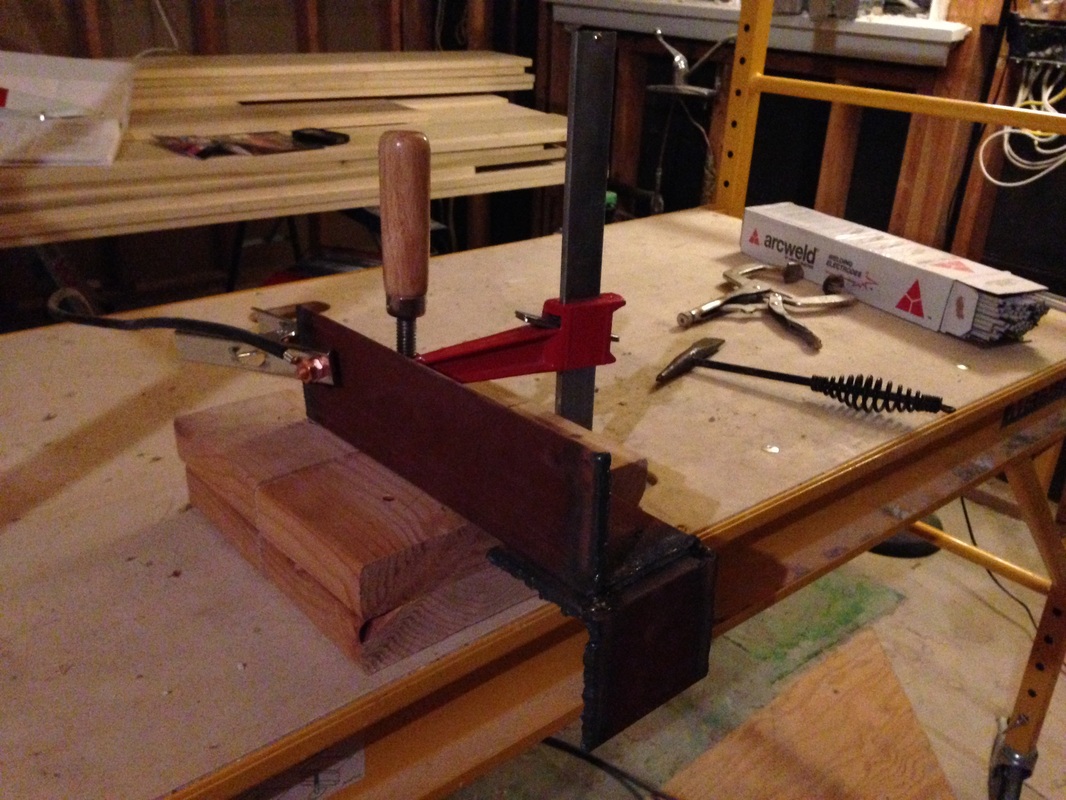
This weekend additional structure was added to the sections holding collar ties. Ty used a torch to cut some angle iron and then welded the pieces together to create a brace.
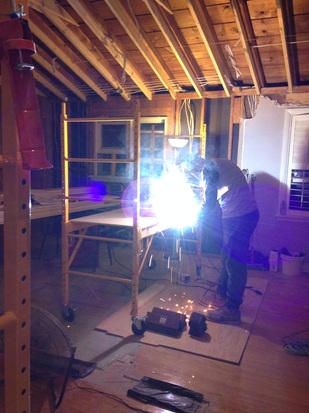
What, doesn't everyone's husband weld in their dining room/kitchen?
This was actually a huge obstacle as Ty was counting on using his big welding machine that runs off it's own generator, but he (really his brother Ryan who is an awesome technician) couldn't get it running. We ended up buying a new smaller welding machine without a generator, but realized afterwards that it needed a special 40A plug. Ty thought we were going to have to buy a separate generator to run it ($$$), but after listening to so much electrical talk over the past couple of weeks I knew our stove receptacle was 40A, but of course it was not the same plug. After a quick call to our friend Mike, he swept in to save the day (yet again!!!). He met me at Home Depot to show me the right receptacle and then came right over to swap out the stove plug for the new plug and then came back Sunday evening to swap it back.
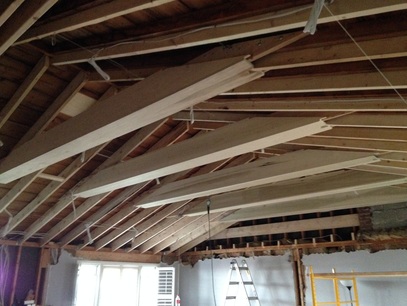
This is what the brace system Ty fabricated looked like pre and post install.
 | 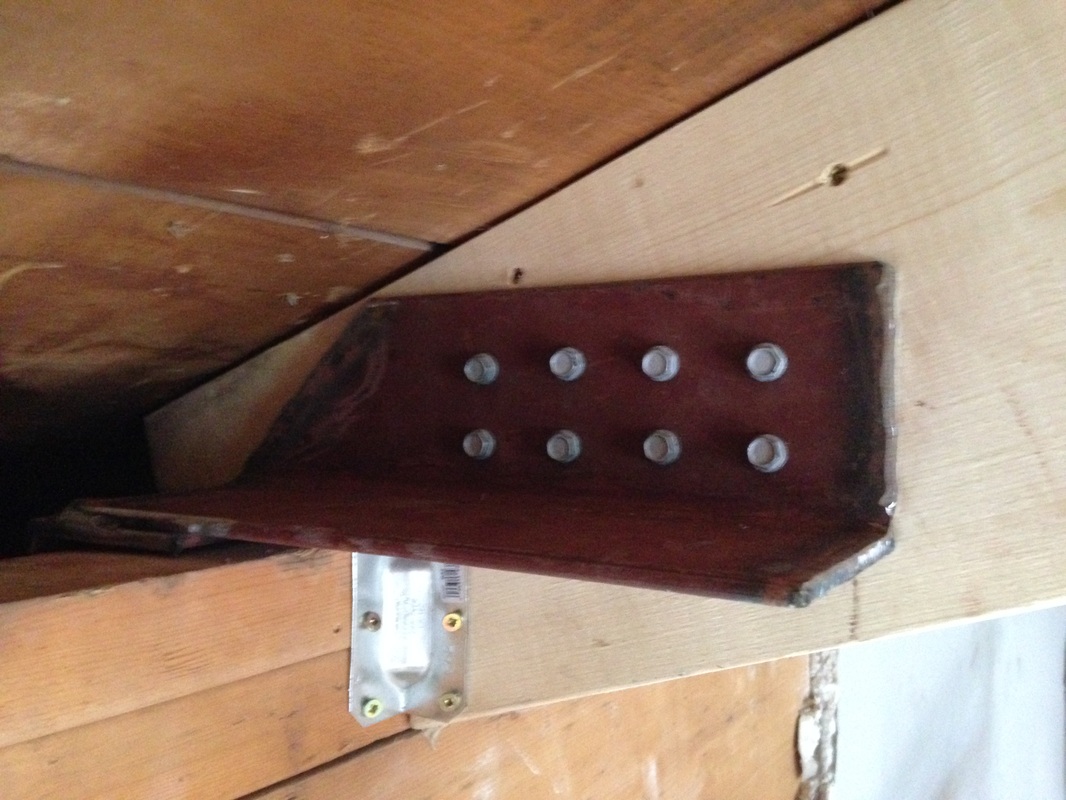 |
Finally the structural component was complete!
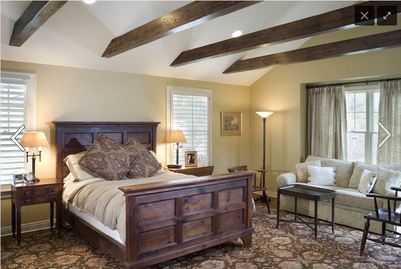
I mentioned in my last post that the plan was to enclose the collar ties with nice wood and stain them to match the new caramel oak flooring we purchased. The vision was for them to look something like this, only thicker. (Picture from Pinterest)
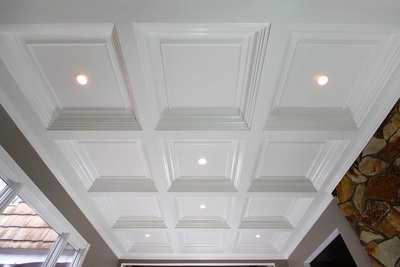
Late last week I started to get nervous that the dark boards would look to "cabiney/farmhousey", make the room look top heavy, or confuse the eye. With so much already going on in the space (kitchen with two colour cabinets, big granite patterns, dark hardwood, dining room and living room furniture, etc.) I was worried there would be just entirely too much going on. So we decided to clad them in wood, paint them white to match the ceiling and trim them in a very simple style moulding. I haven't seen it done before or found any pictures, but I can picture it in my head. It will be vaulted ceiling meets coffered ceiling. (This is a coffered ceiling for those who aren't familiar.)
As it turns out we massively underestimated the length of time the projects we scheduled for this weekend. Ty was up until midnight welding on Saturday night and then him & I were up until 3 am installing the cladding last night. This needed to get done before the spray foamers arrived this morning at 8am. Not having this complete would have delayed the entire project at least 2-3 weeks as we would have had to reschedule the spray foamers, held up the framers, drywallers, flooring installer, kitchen installers...
 | 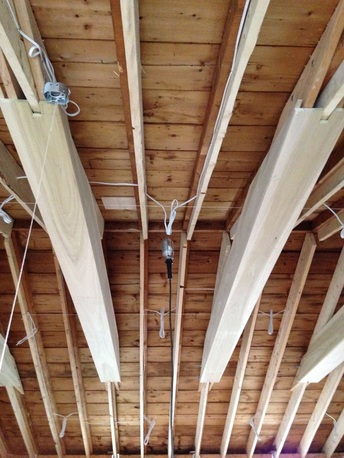 |
While I'm yawning at my desk today & on my third cup of coffee, I am so thrilled we were able to get this done last night. The end result is absolutely beautiful and I know the final product is going to look spectacular.
 RSS Feed