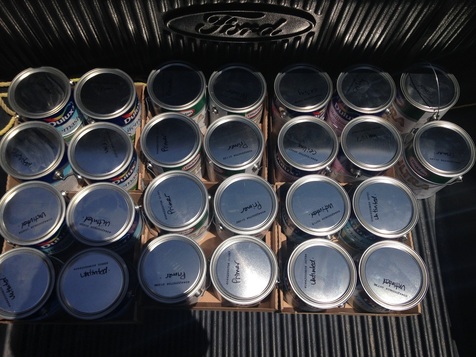
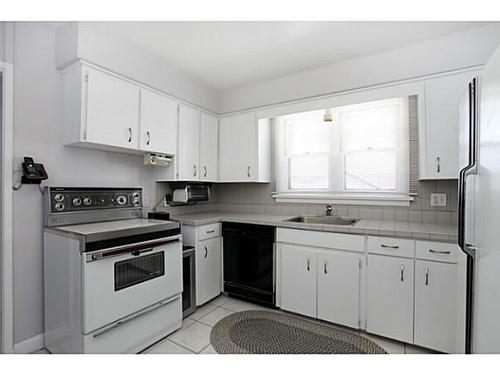
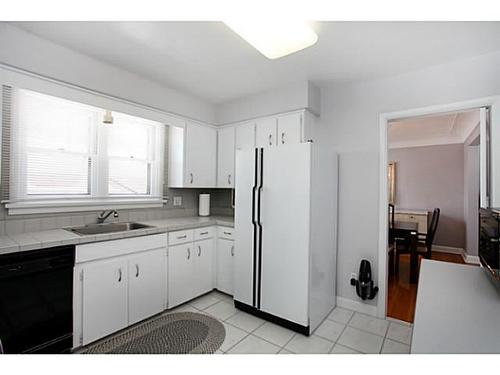
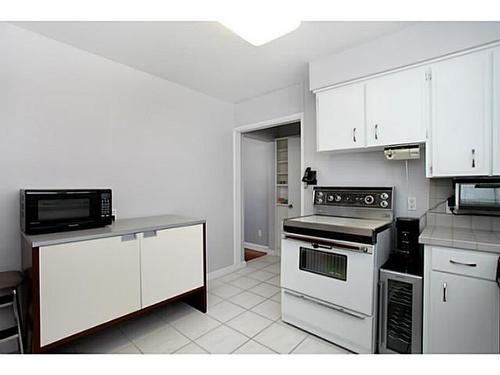
Falcon Blvd. was a very busy place to be last week! We had Jerry's Insulating in on Monday, Responsible Heating and Air Conditioning in on Tuesday, and the framing & drywall crew in the rest of the week. I must say, the transformation that has occurred in our home over the past week is truly remarkable.
SPRAY FOAM:
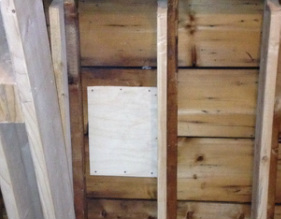
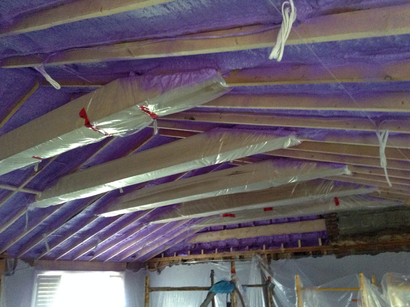
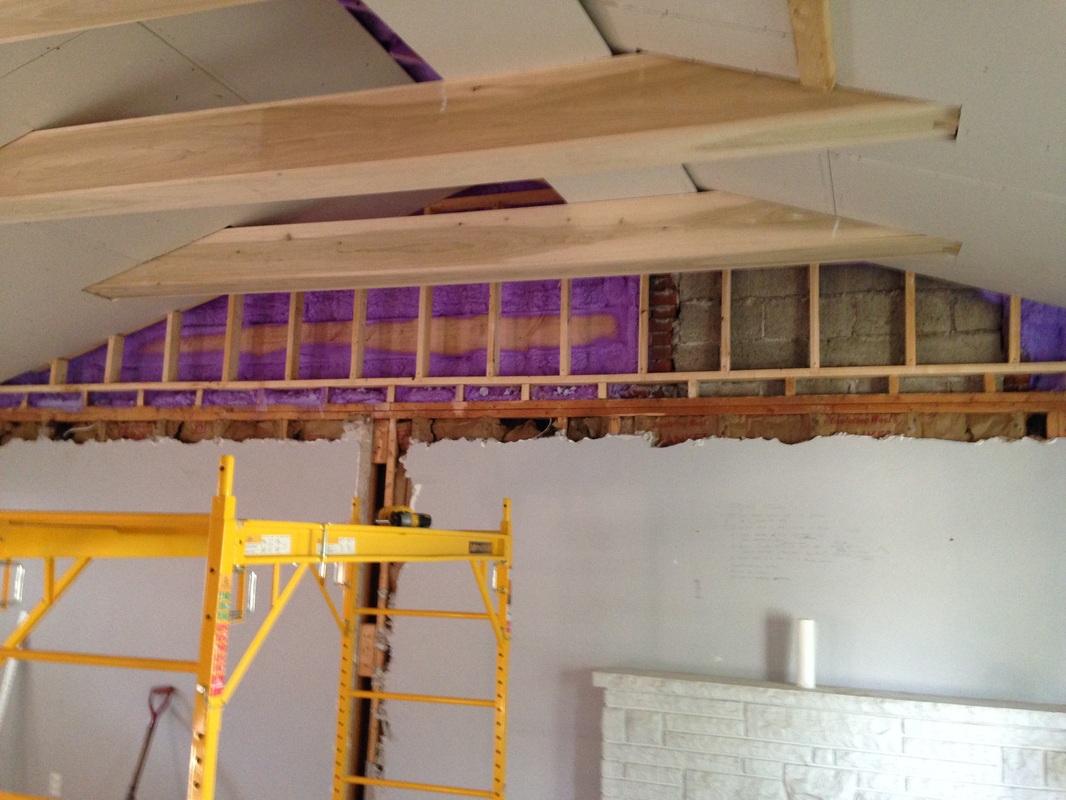
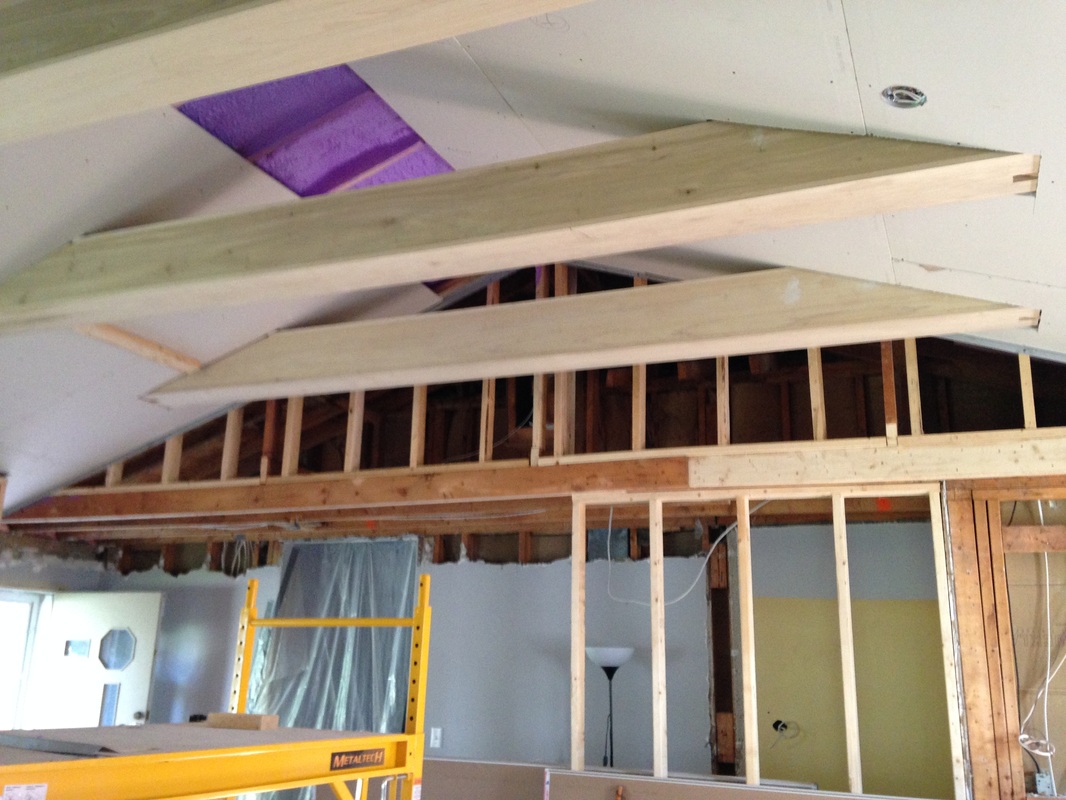
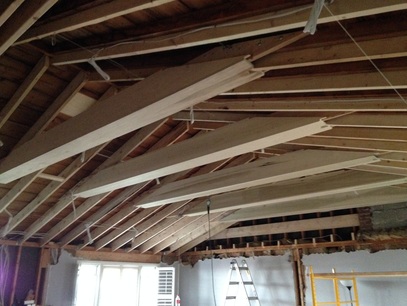
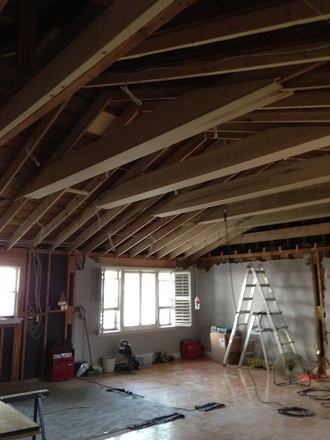
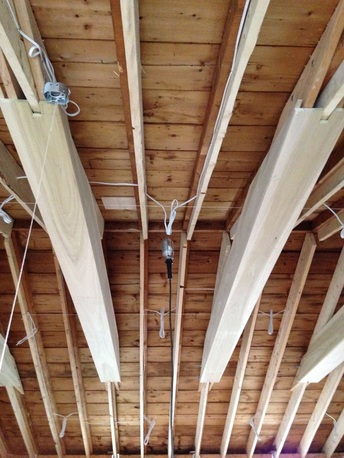
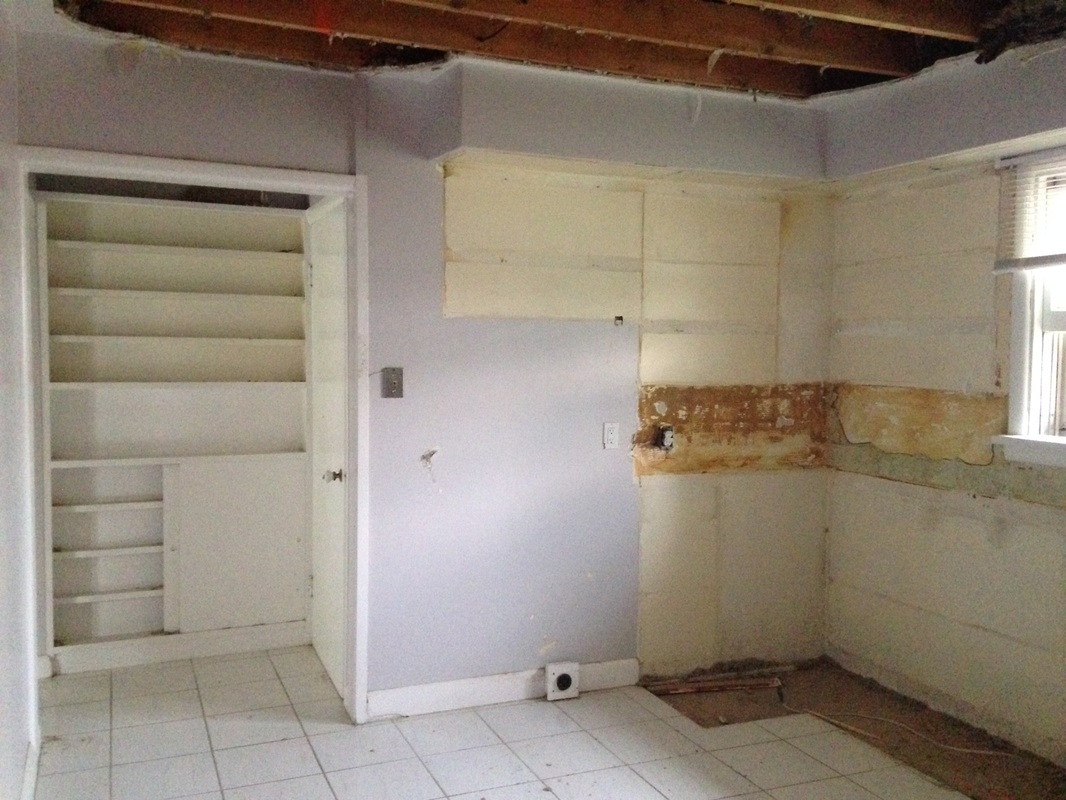
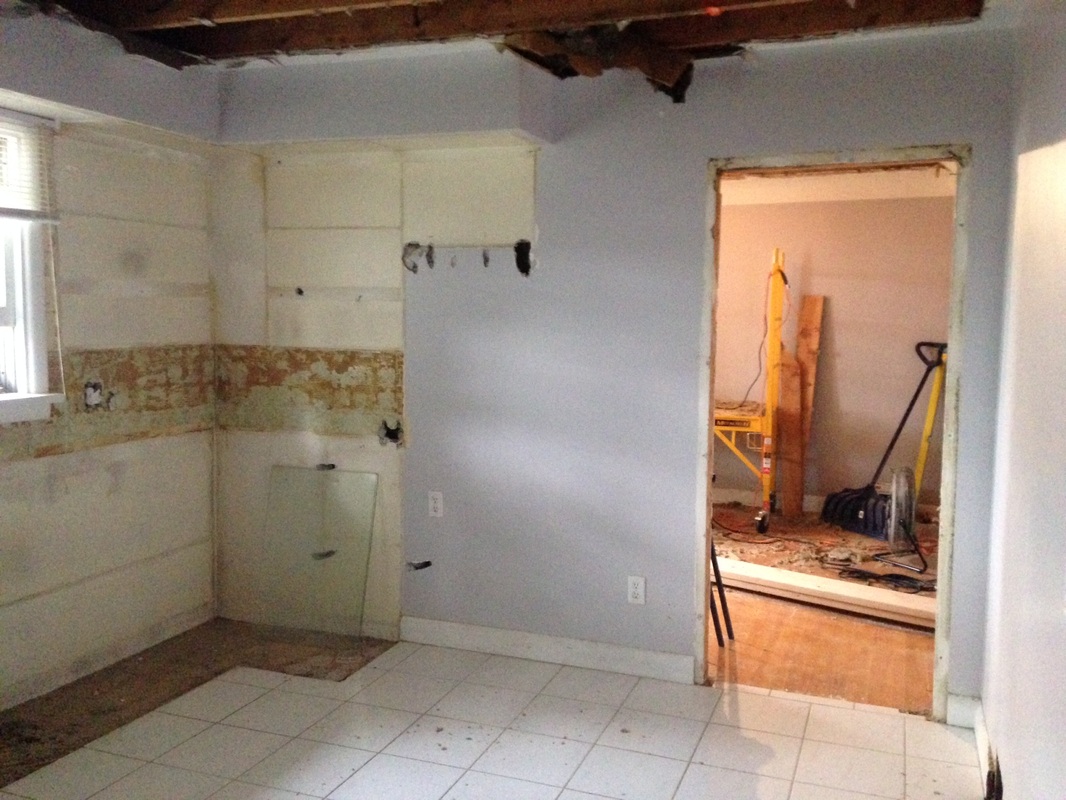
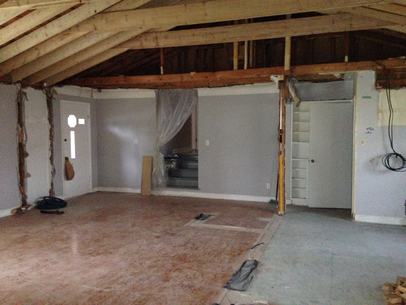
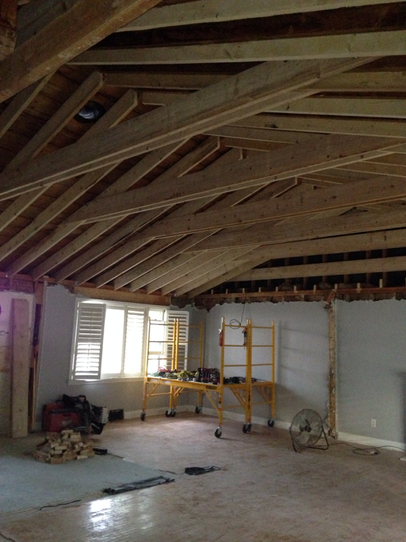
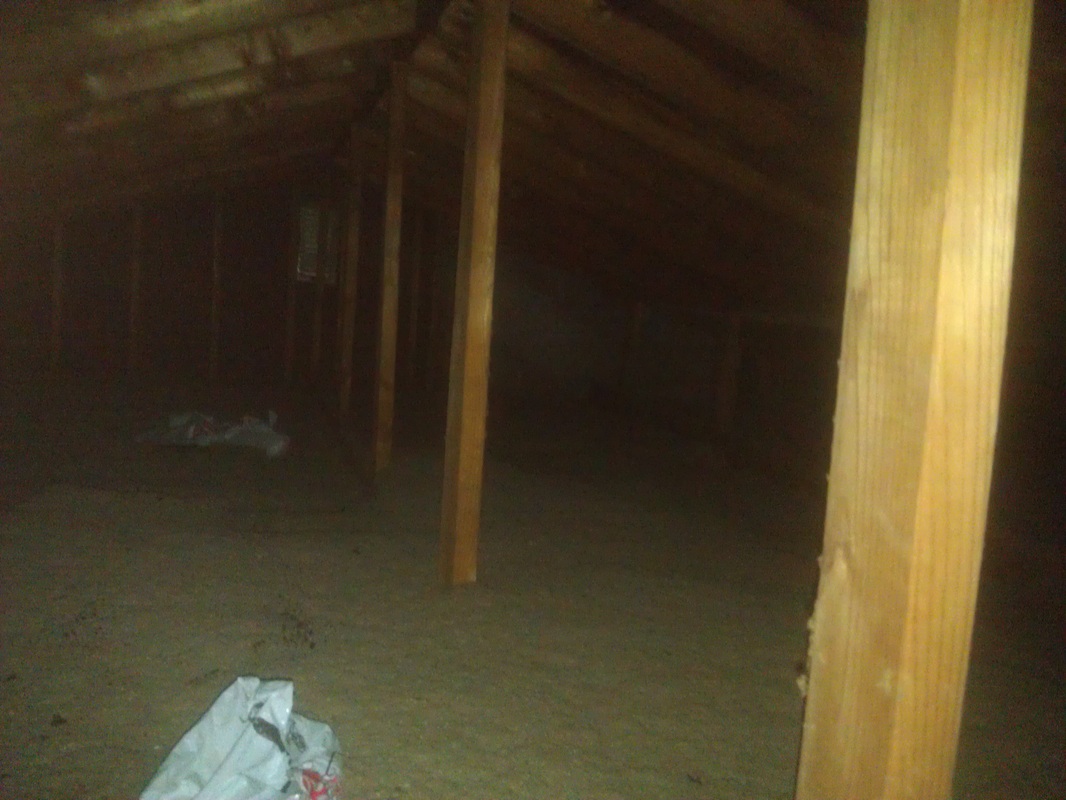
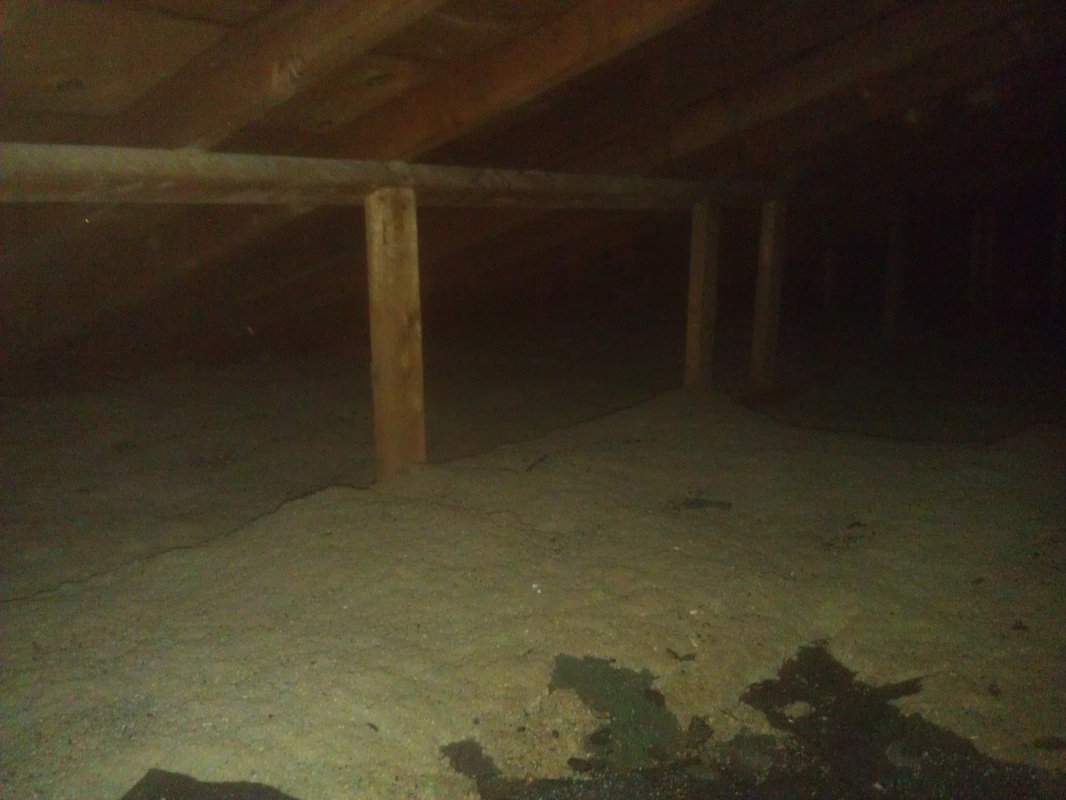
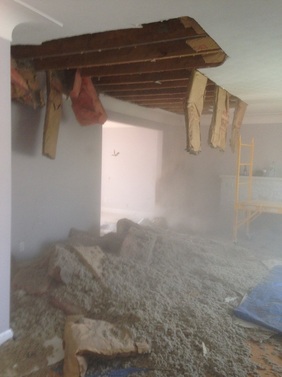
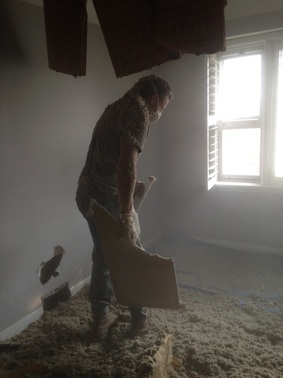
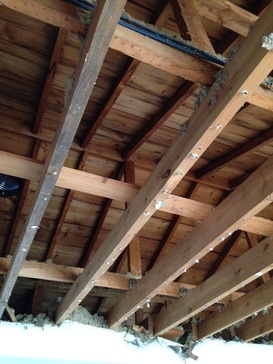
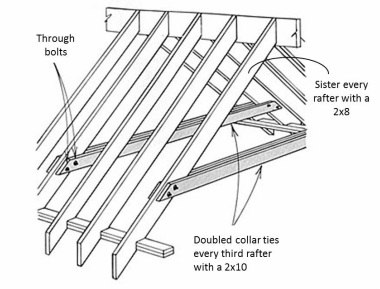
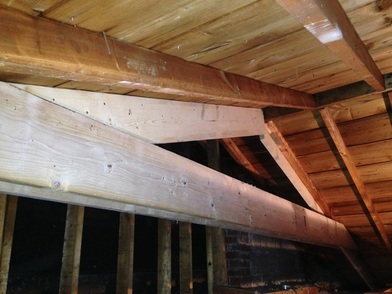
The best option for insulating the the roof on the main floor was closed cell spray foam. Besides beefing up the rafters to allow for R31 insulation we also had to cover up all the old attic vents. Unlike batting or blown in insulation which needs to breathe, in order for spray foam to work it is essential the space is air tight. I measured and then cut some plywood to the fit the old vent openings and secured them with a few screws. We will deal with the exterior portion of the roof vents when we re-shingle the roof in a couple of years.
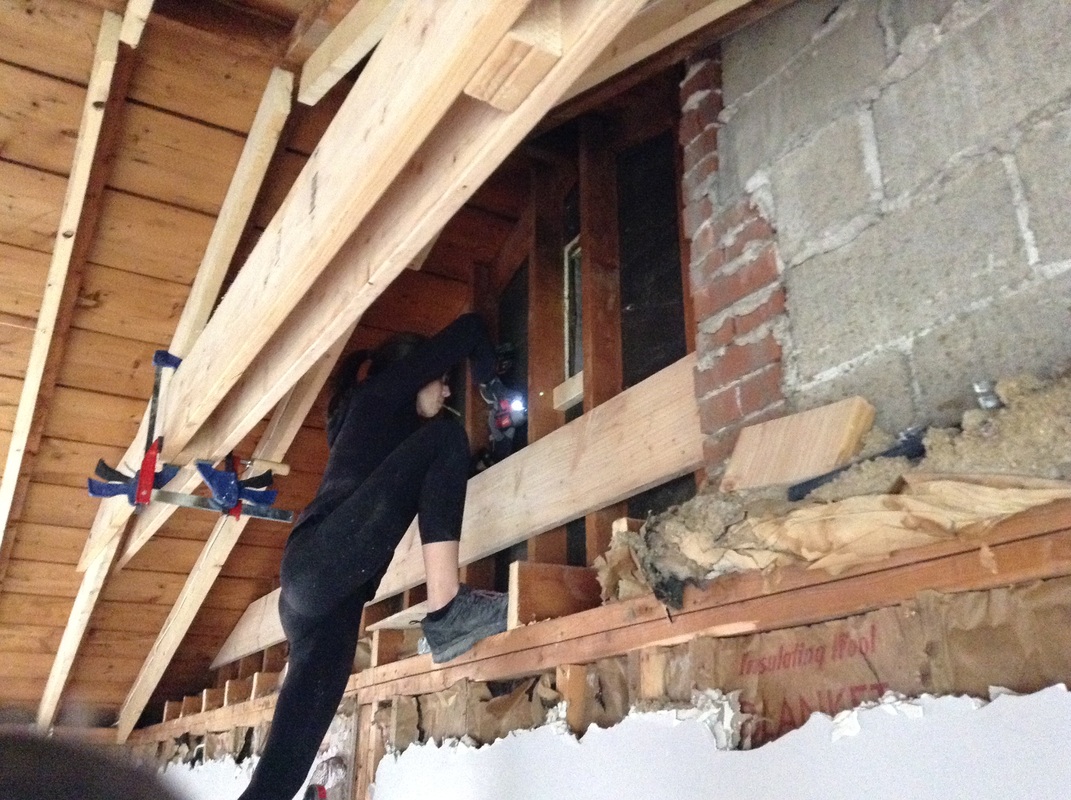 |  |
It took a full day to complete the spray foam, as to achieve the R31 value it takes several passes with the sprayer. The room actually looked pretty cool with a purple ceiling.
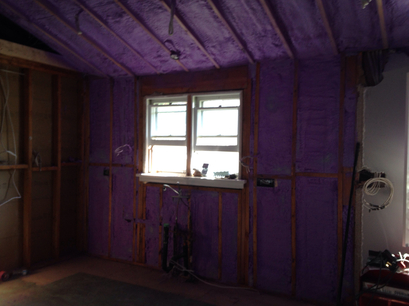
We decided at the last minute to also spray the outside wall in the kitchen and have it re-drywalled. This will ensure the kitchen is nice and warm in the winter and that the area around the pipes is well insulated.
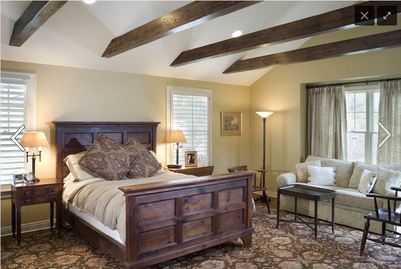
HVAC (HEATING, VENTILATION AND AIR CONDITIONING):
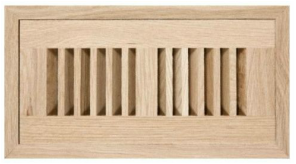
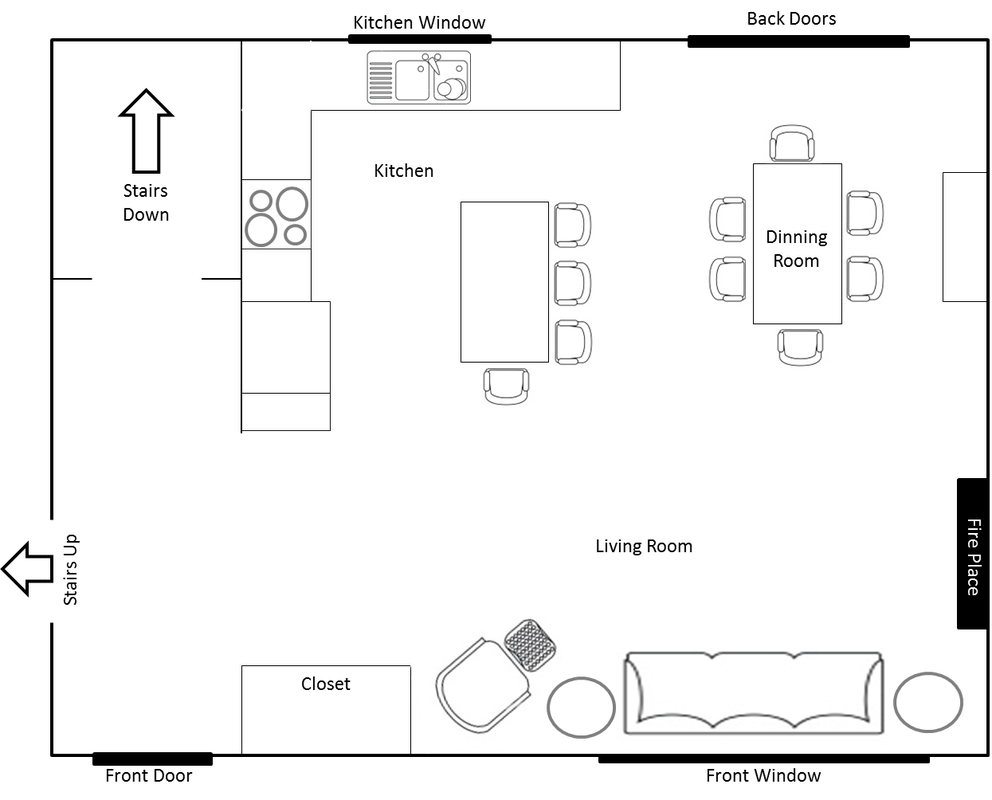
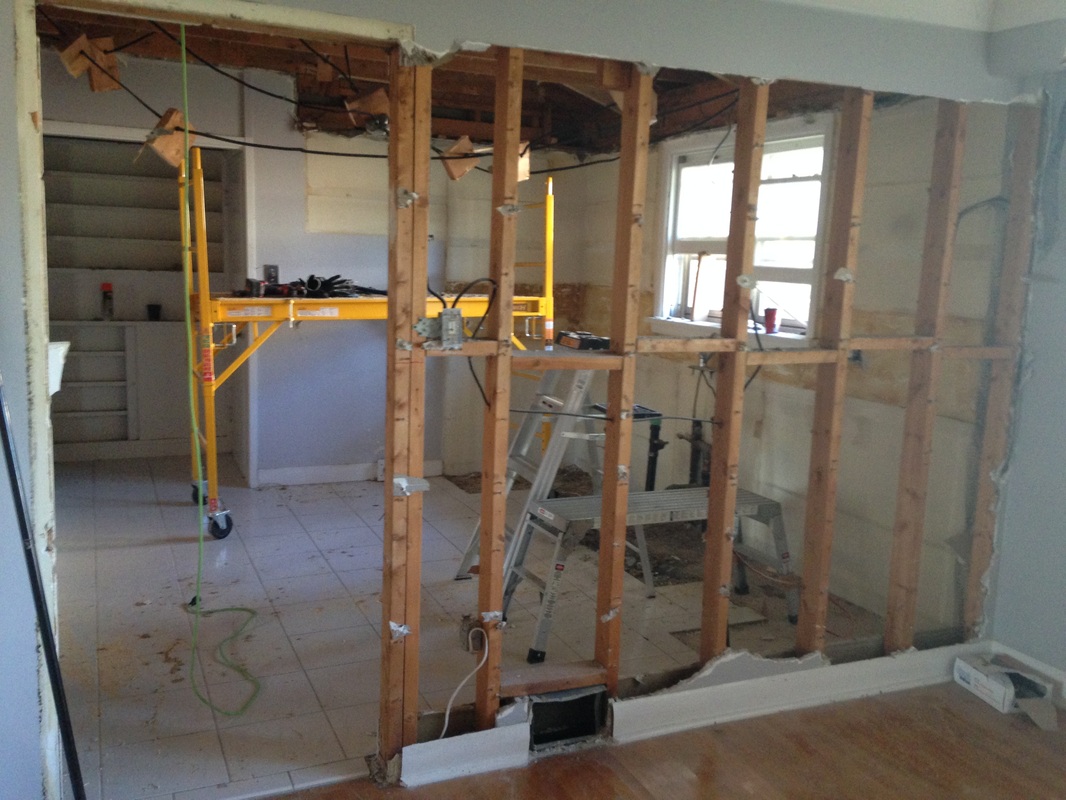
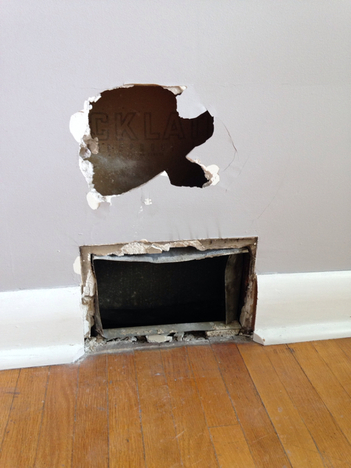
With the new open concept layout it was best to have all the existing vents on the main floor eliminated and all new vents run. We are able to cleverly hide the air return vents near the island and the rest of the air supplies are now positioned around the perimeter of the room.
I sourced & purchased flush mount registers in Red Oak from Lumber Liquidators that I can stain to match our Red Oak hardwood. I am hoping they will camouflage fairly well in the hardwood.
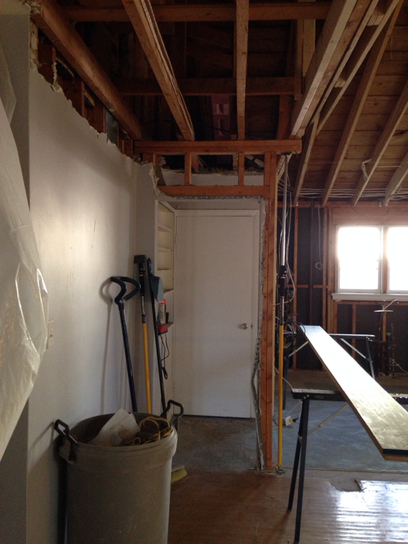
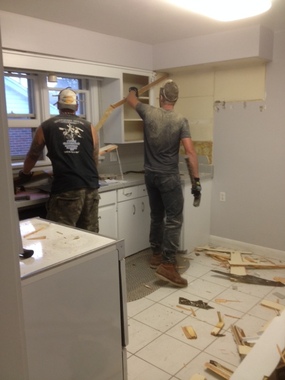
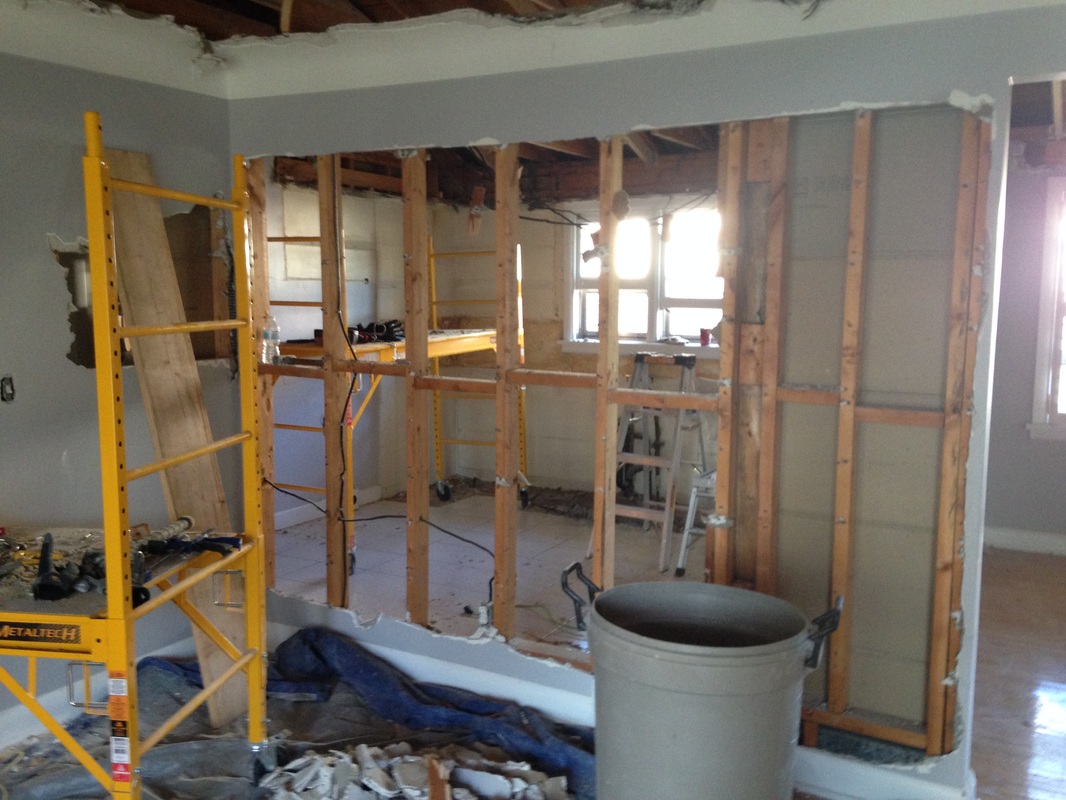
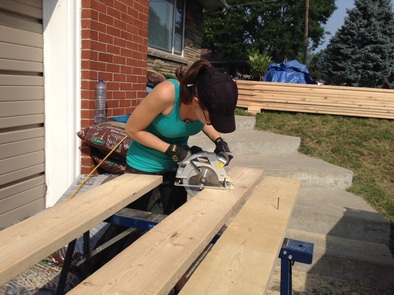
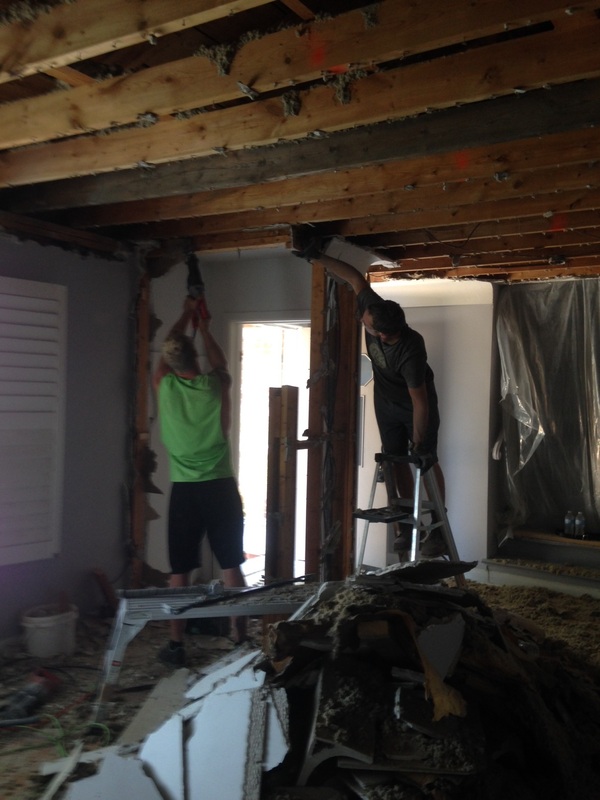
FRAMING AND DRYWALL:
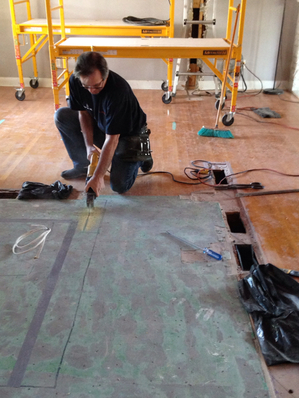
On Wednesday the framing and drywall crew started. The first thing they tackled was laying all new sub flooring on the main floor. Then they framed in the area to extend the kitchen wall and removed the old back hall door frame.
| BEFORE 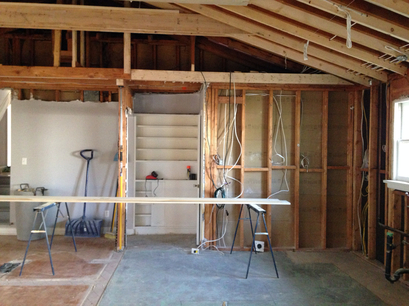 | AFTER 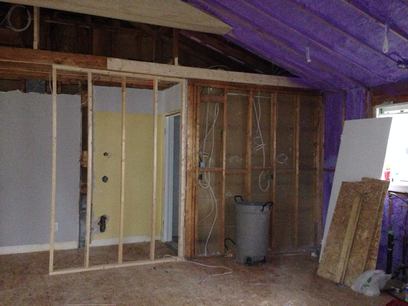 |
 | 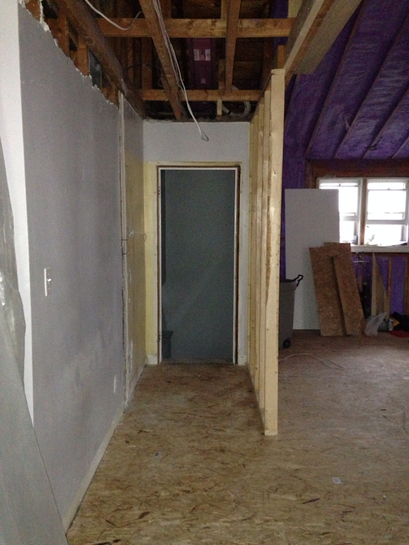 |
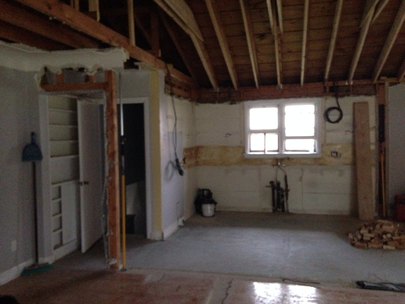
They also framed in the new front hall closet
| BEFORE 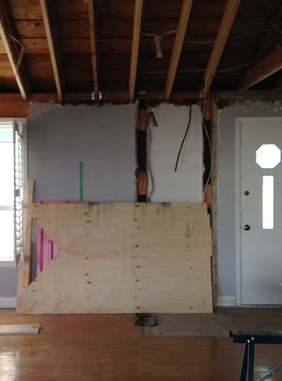 | AFTER 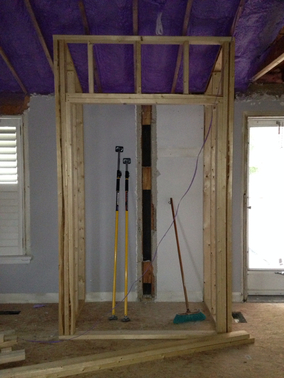 |
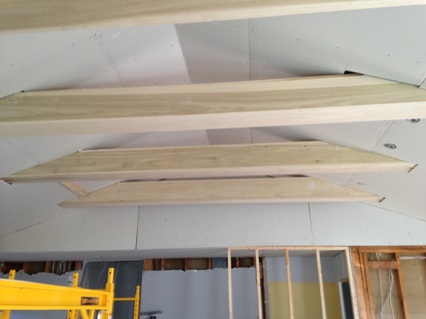
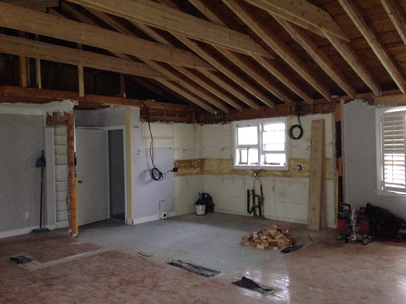
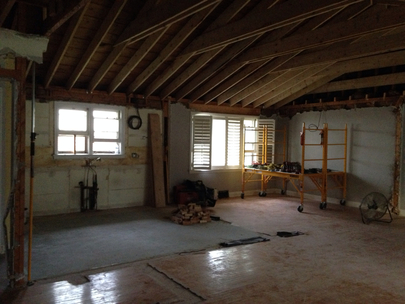
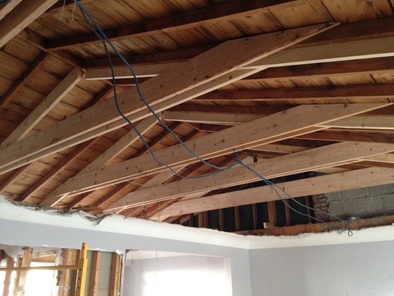
And completed the framing for the new walls that were previously above ceiling height.
 |  |
Once the drywall started going up the space really transformed. Of course I've had a picture in my head the whole time about how the finished product will look, but seeing our vision come to life is surreal.
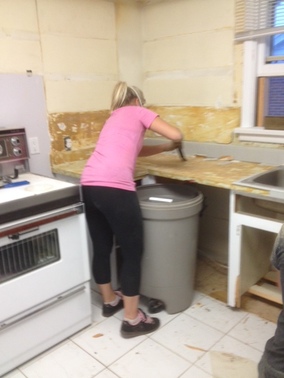
Well we have reach the moment everyone warned me about, we are now officially BEHIND schedule. The framing and drywall is taking much, much longer than quoted. Somehow 4 days has turned in to 10+. At first I was hugely disappointed, but now that I've had the weekend to process, I've come to terms with it. What's one more week of eating reheated food in the make shift kitchen I've created in the garage and washing dishes in the laundry room sink?


 RSS Feed