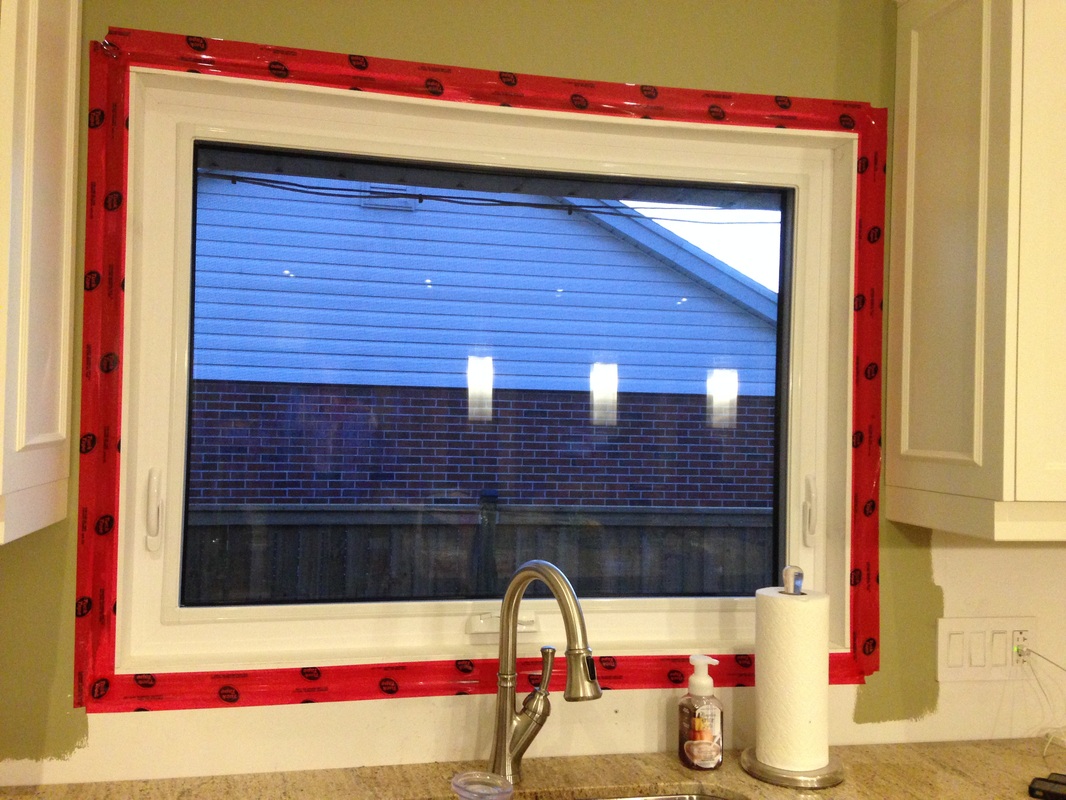
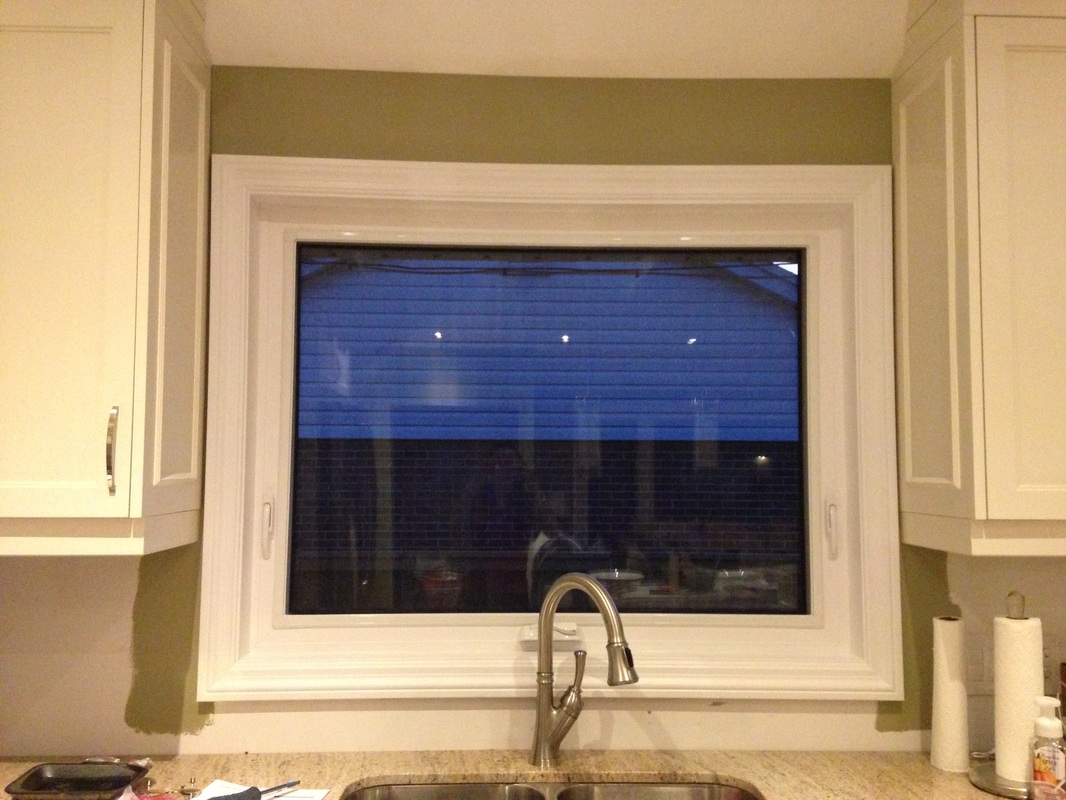
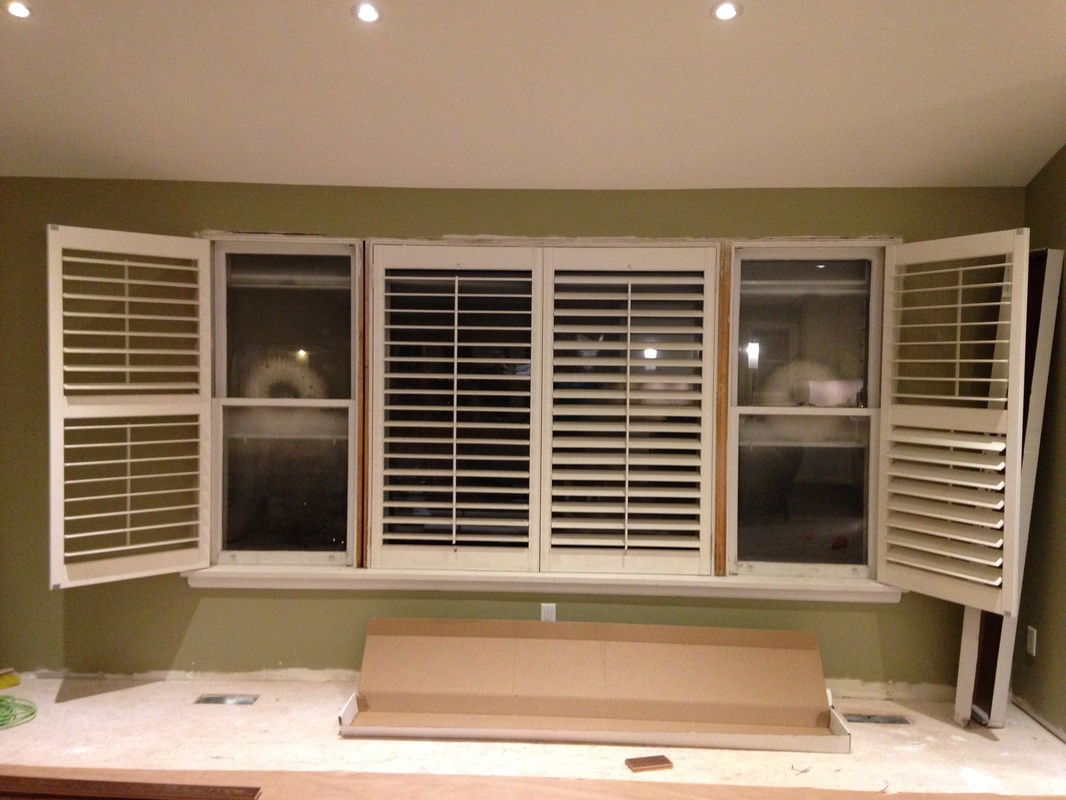
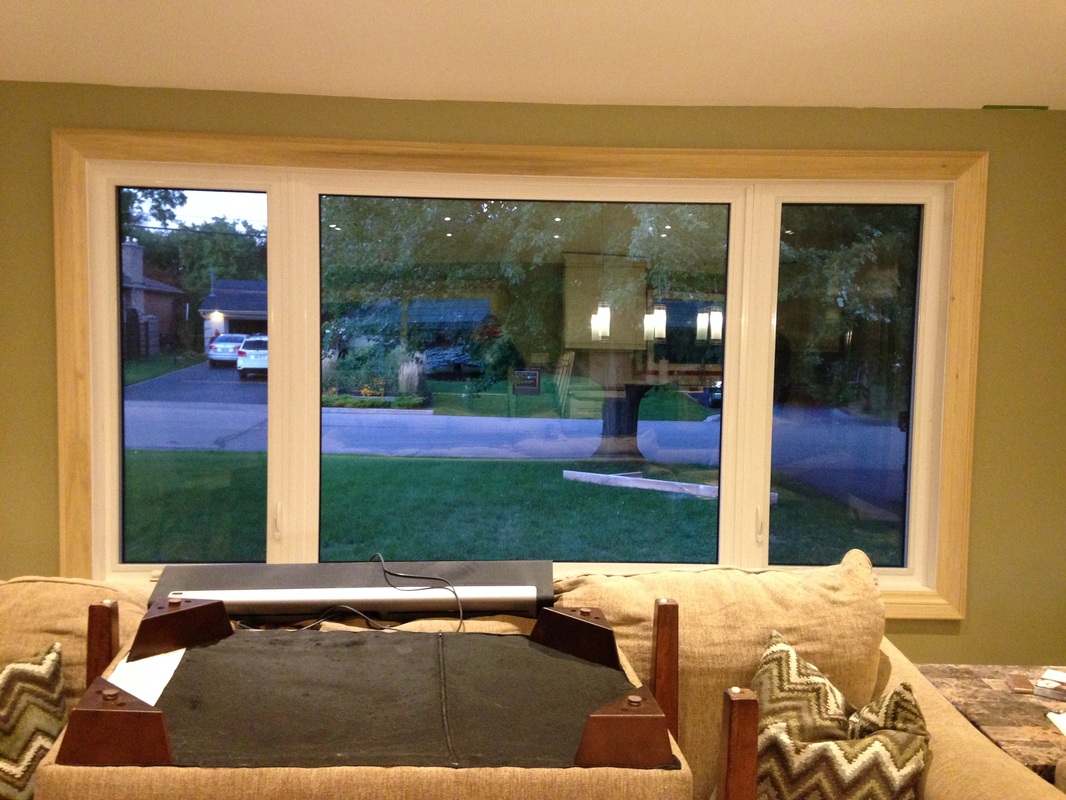
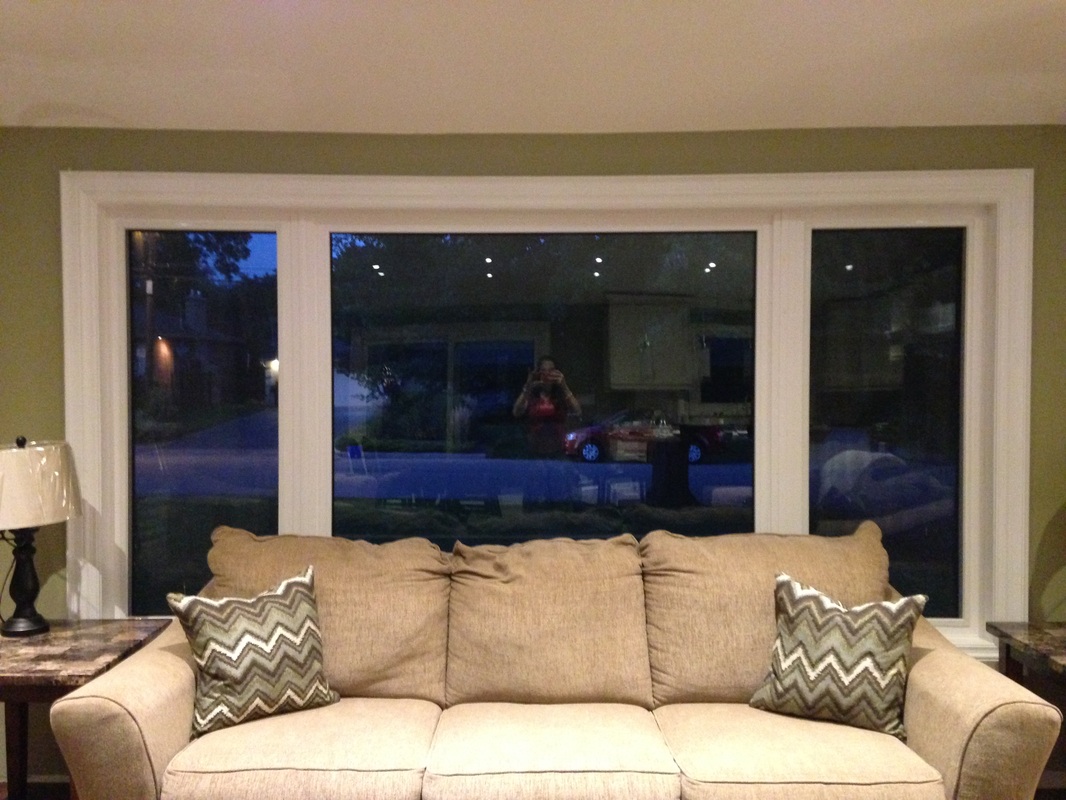
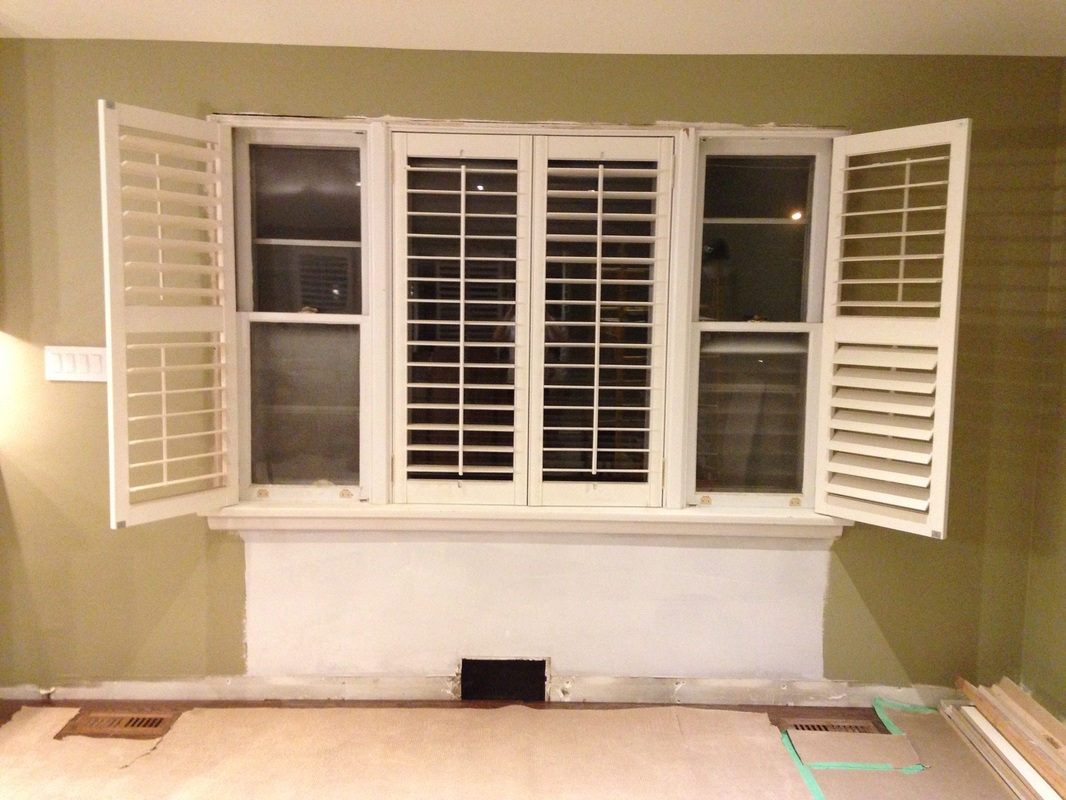
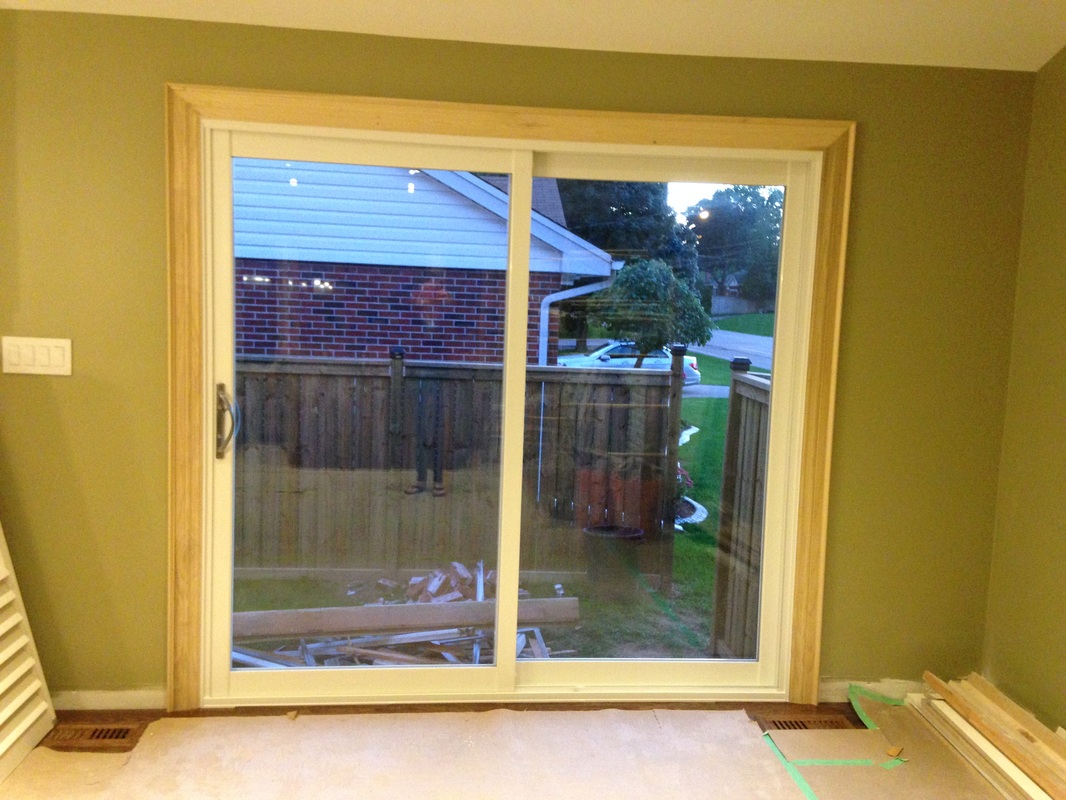
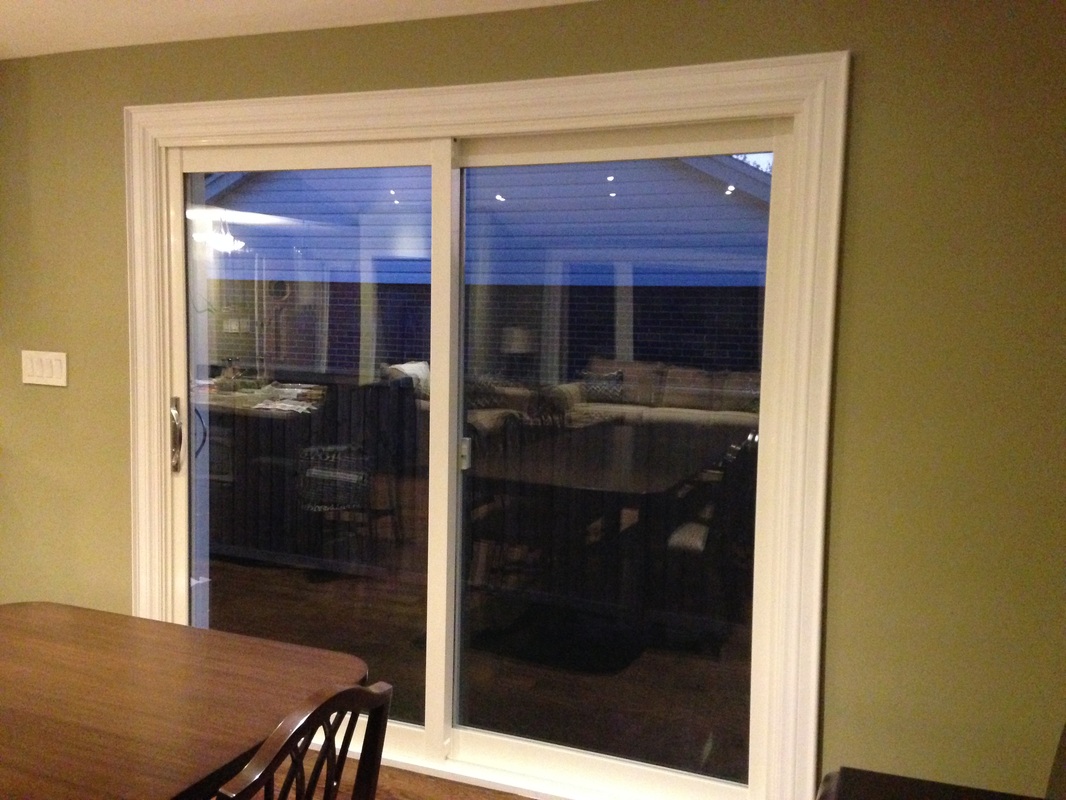
A few weeks ago we had all new windows installed on the main floor of the house (New Windows). I mentioned at that time that the door was still being fabricated and would be installed another day, and that day was yesterday! 
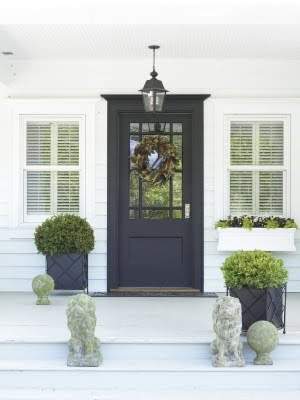
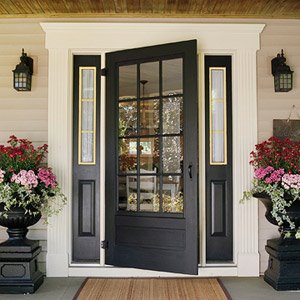
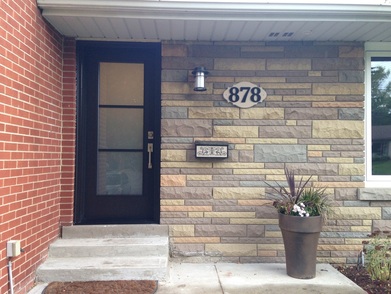
As I mention in my previous post "The Main Floor- The Plan" we wanted to replace the front door with something that let in a lot more light. I prefer dark or bold colour choices as it really draws in the eye and makes the front door a focal point of the house. Two doors I had seen online and liked were: 
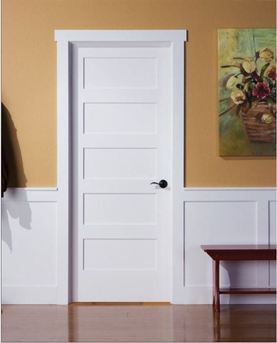
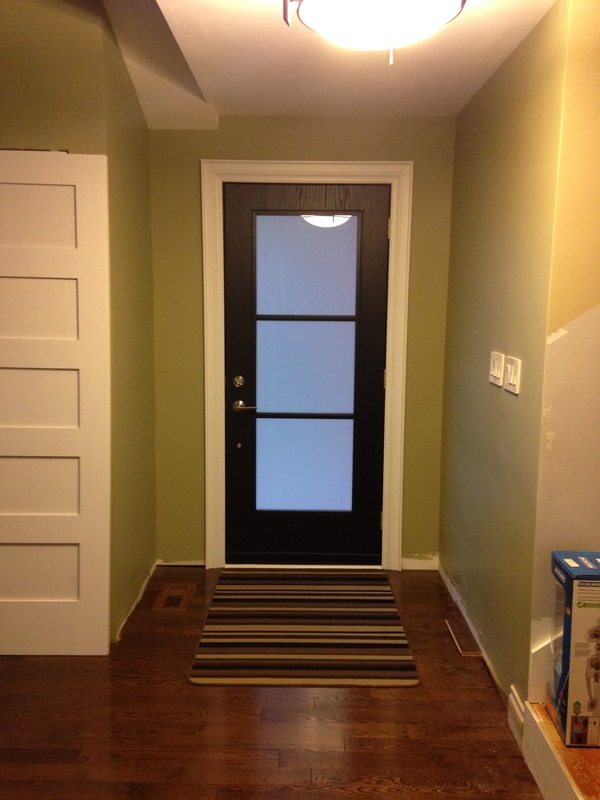
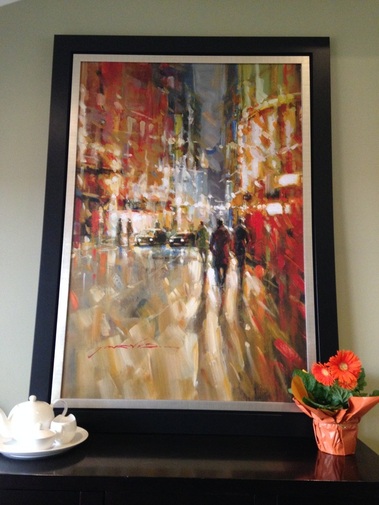
For the interior doors we decided on 5 panel shaker style doors (similar to below), so in the end I decided to play off that look with a 3 panel door for the exterior. 
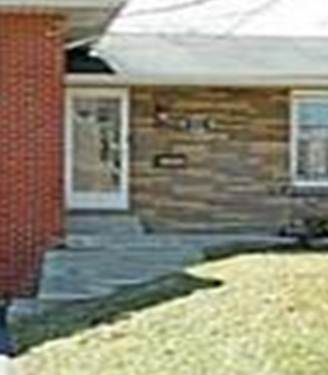
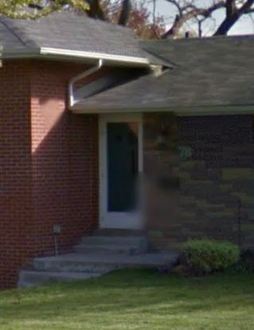
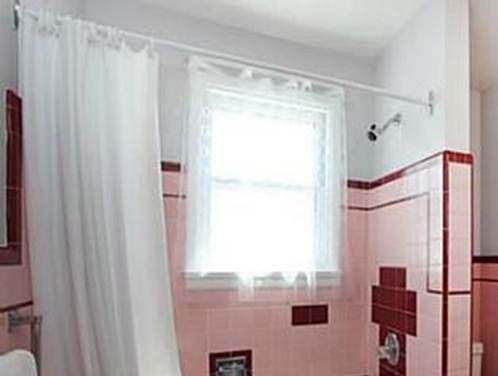
Somehow I failed to get a picture of the exterior of our old front door. I tried my best to scrummage something up, but a terribly pixilated crop of the house listing picture and a screen shot off Google Maps are the best I could come up with. If you haven't seen it first hand, you'll just have to trust me that it was terrible. 
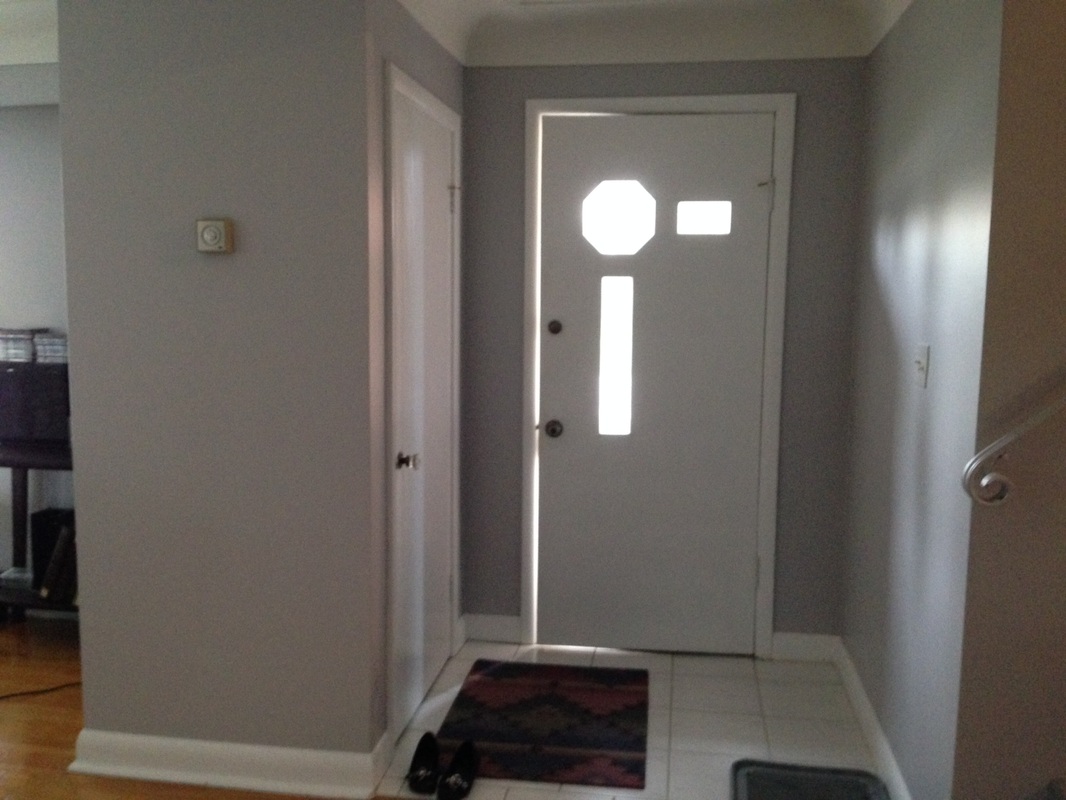
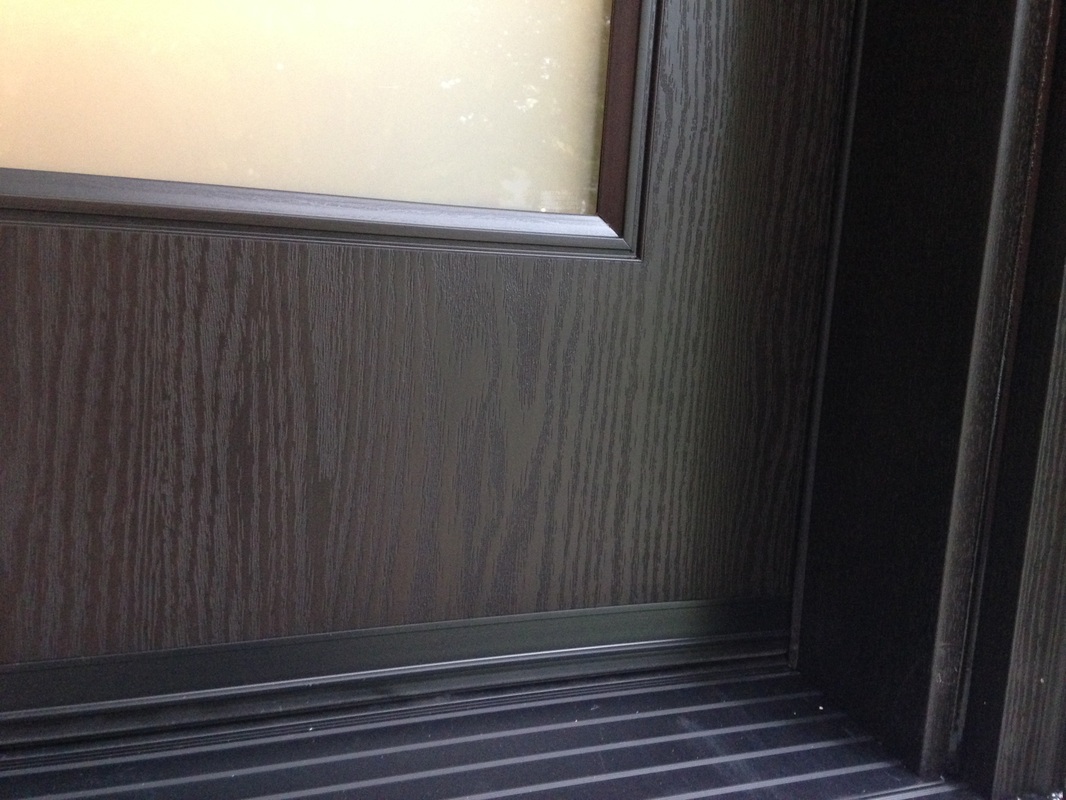
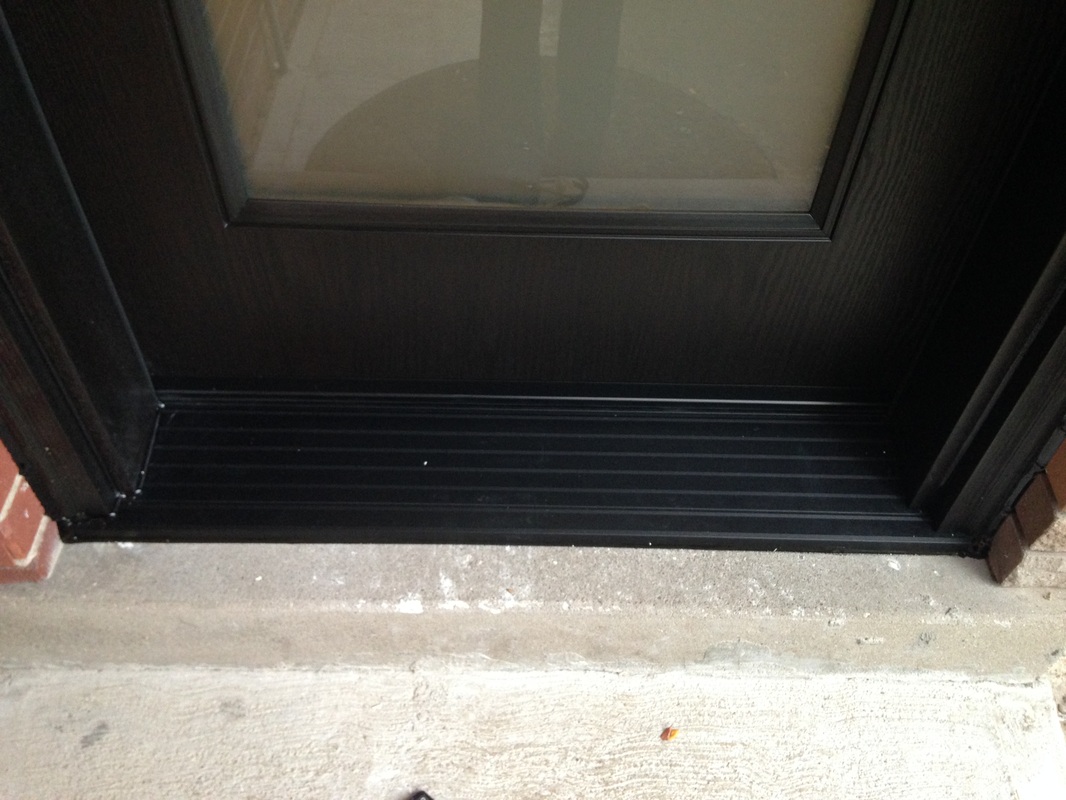
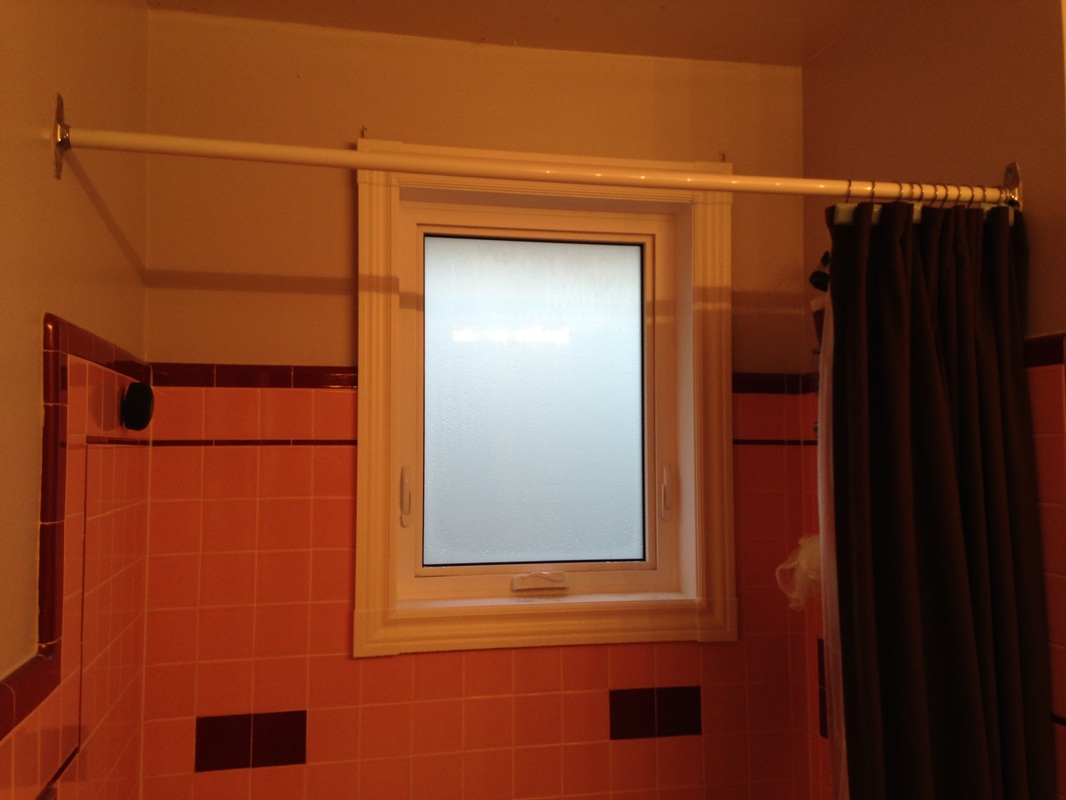
It doesn't really matter anyways, the point is that it is absolutely stunning now! It really gives the front of the house a whole new look. The sandblasted glass allows in plenty of light while still providing adequate privacy. 
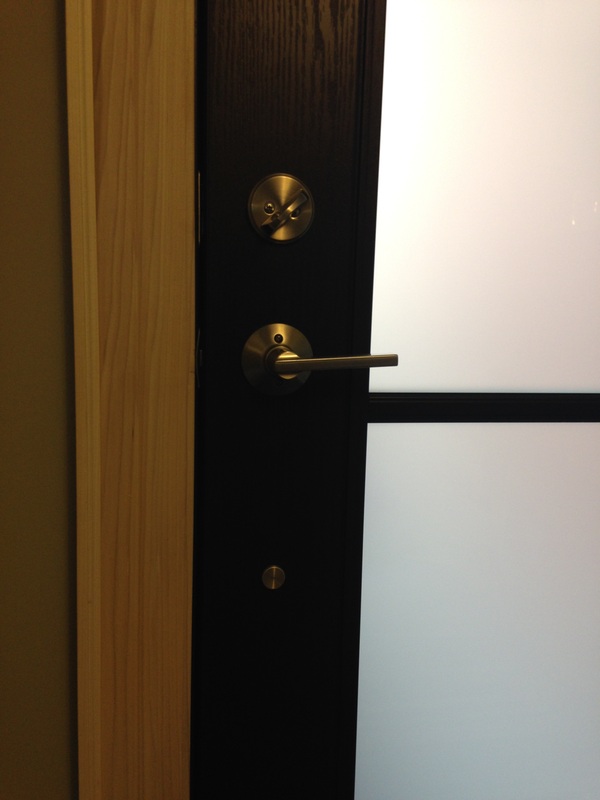
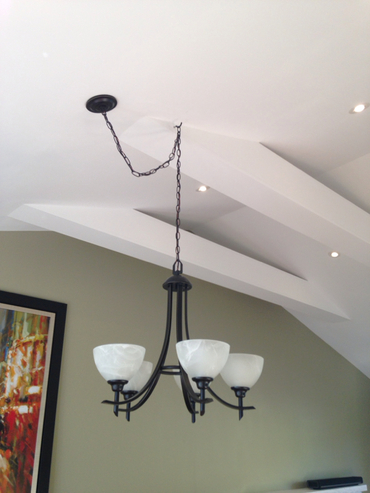
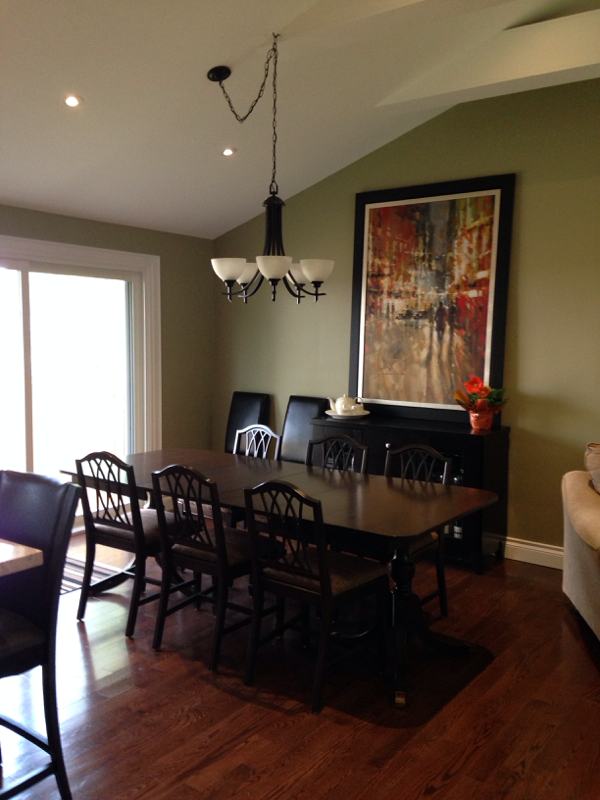
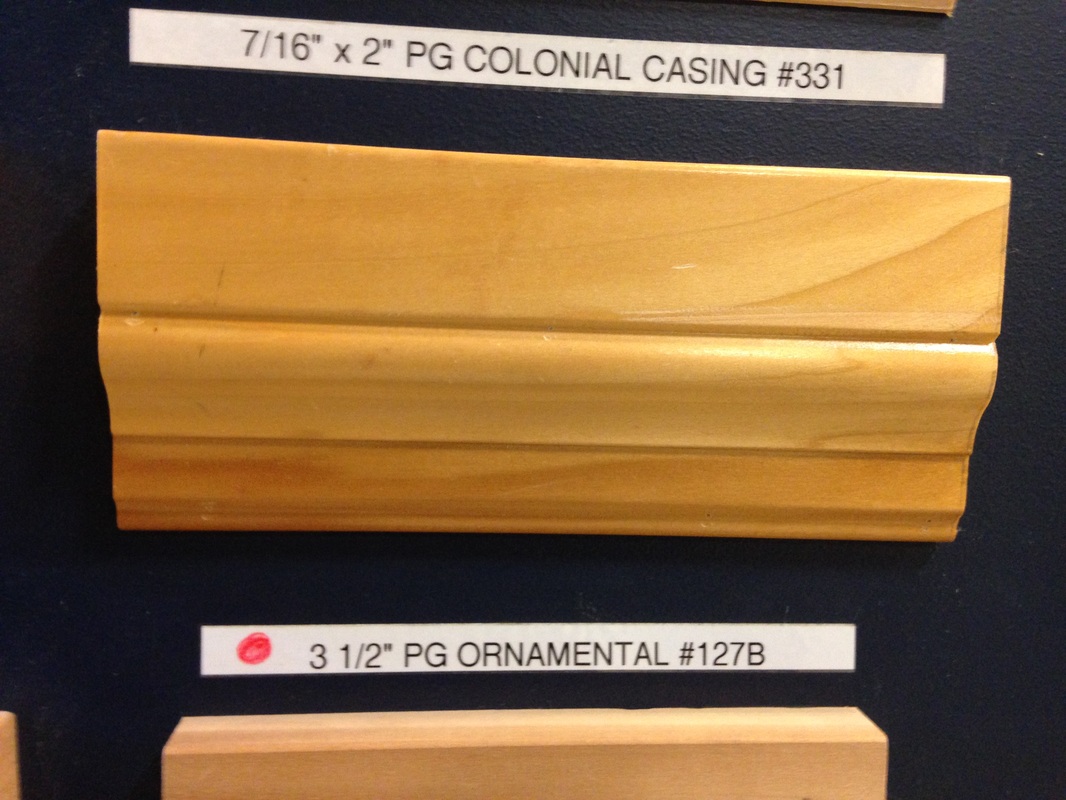
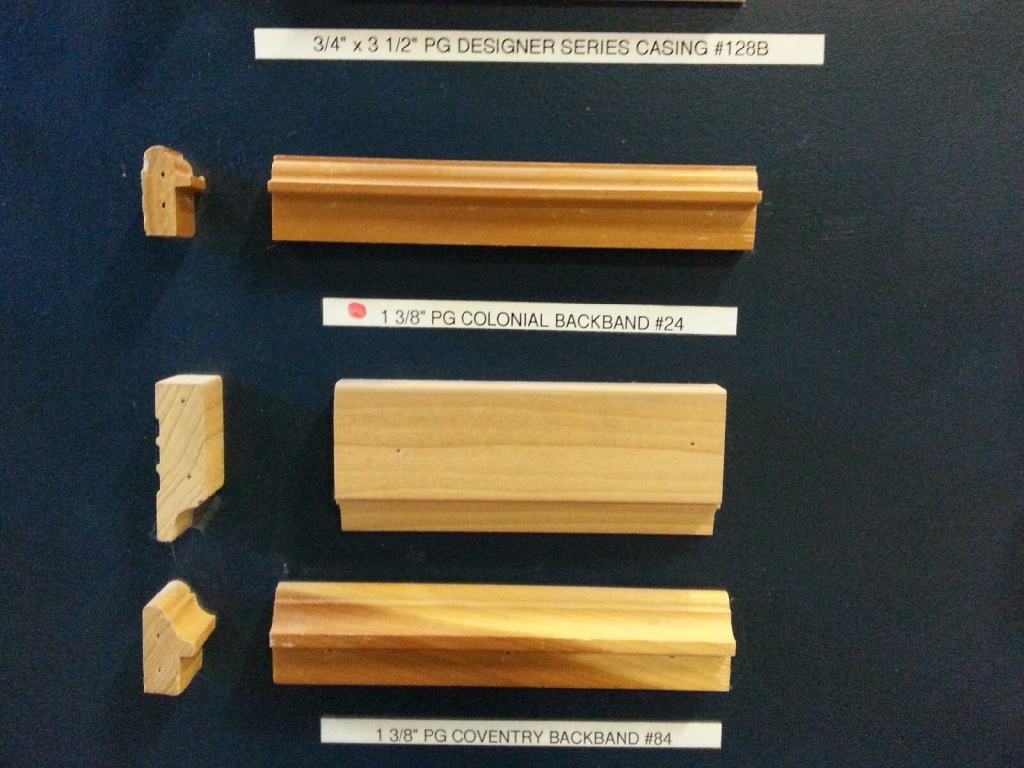
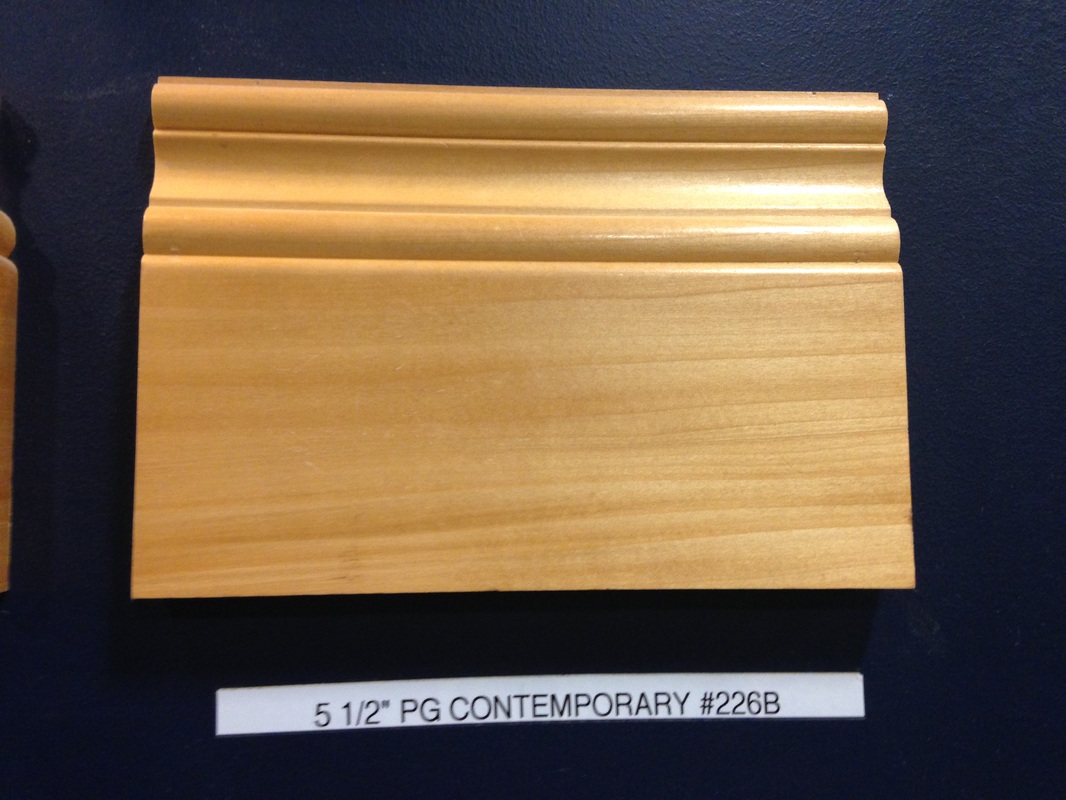
Likewise, it's also a huge improvement on the inside. Architectural Accents installed the same casing and backband as they used around the windows and I managed to get two coats of trim paint on yesterday evening. Now that the door and trim is in, Ty can finish the baseboards on the main floor which are current about 80% complete. For hardware I selected a very simple and modern Schlage handle and purchased matching door levers for all interior doors on the main floor and upstairs. 
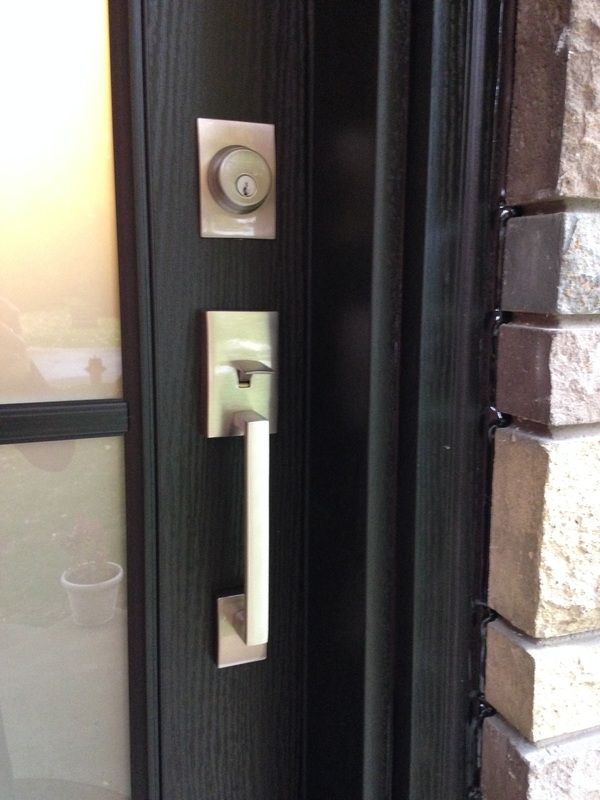
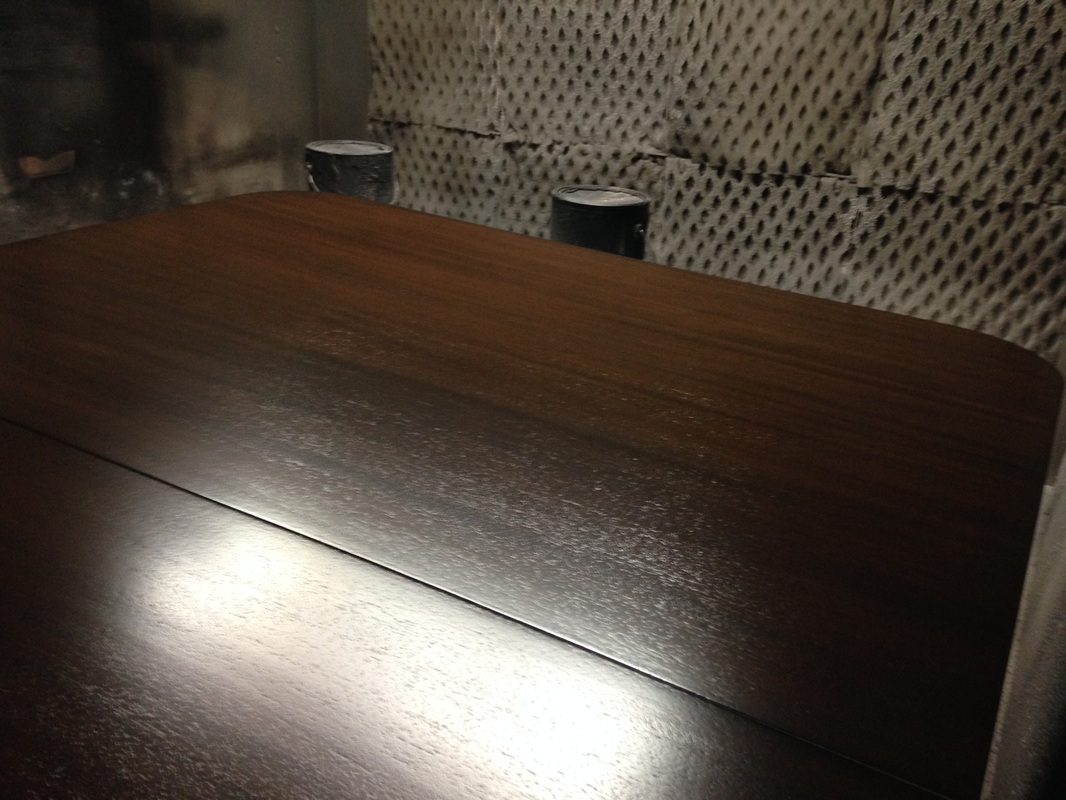
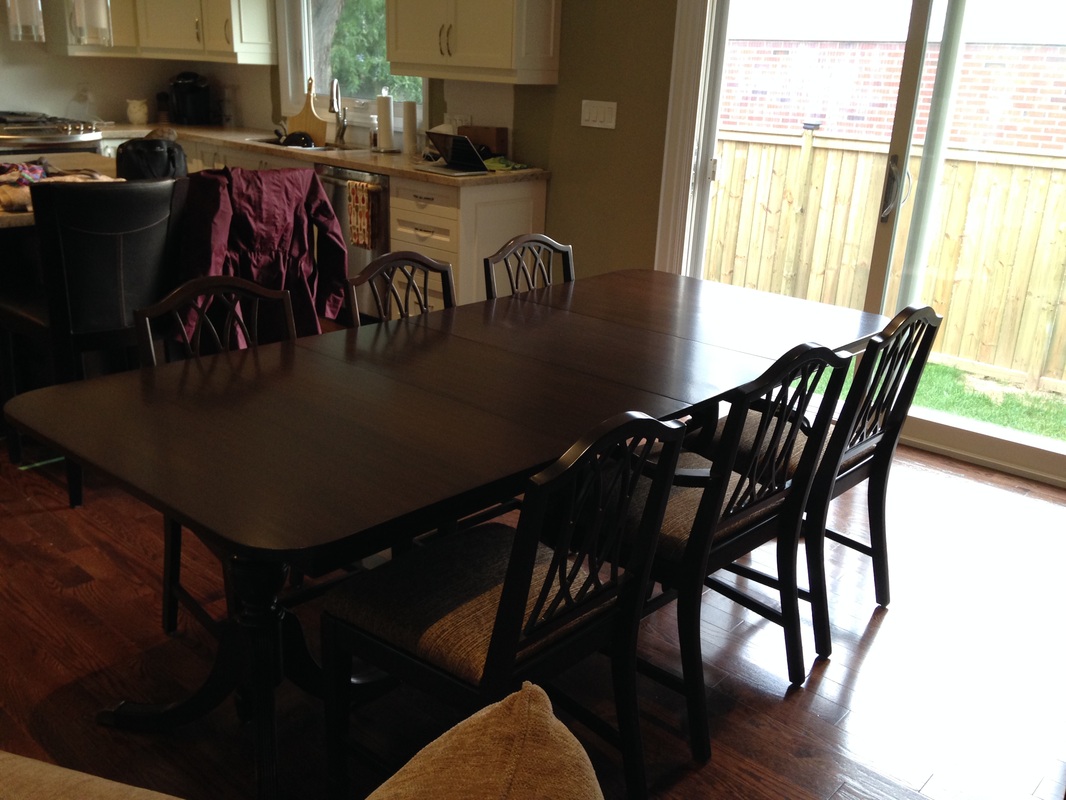
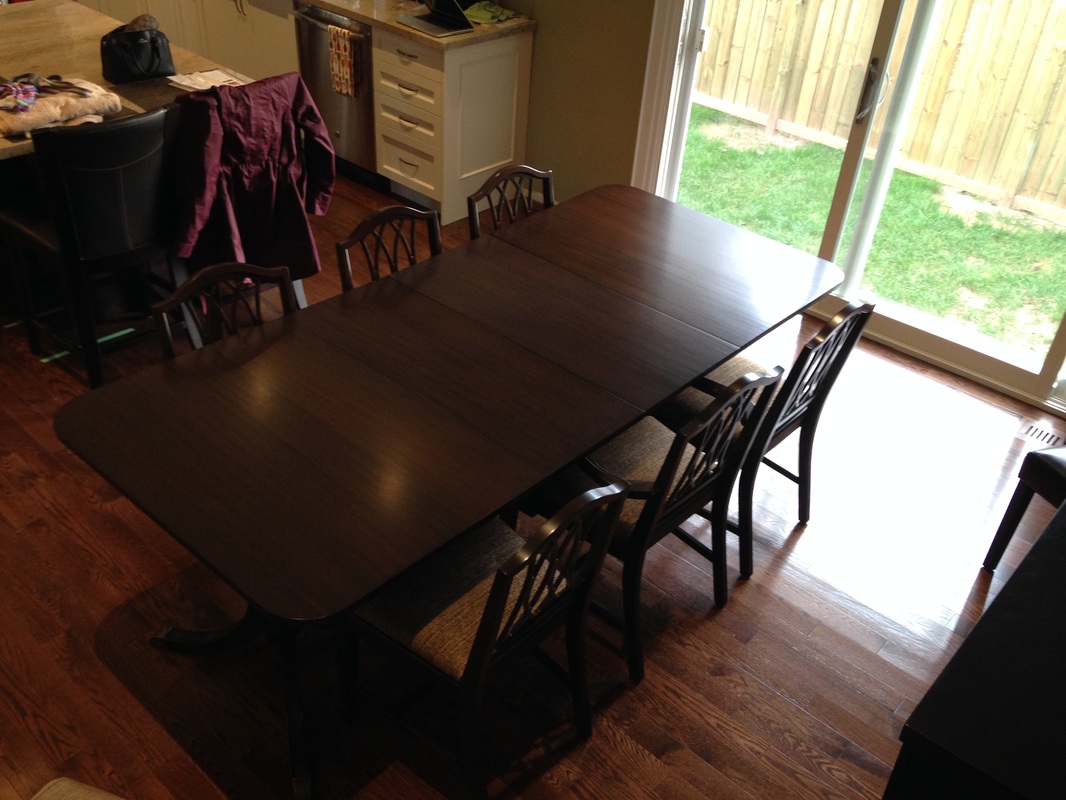
Some of these pictures make the door look like a flat black, but it's actually a wood grain dark brown. I've included the pictures below to better represent the colour and texture.
1 Comment
The focal point of any good dining room is the dining room table. For our wedding my Aunt & Uncle gave us a beautiful mahogany table passed down from my Uncle's Mother. Unfortunately when we bought our first house the dinning room was much too small to fit the table, but my parents were kind enough to store the set for us until now. The table had been very well taken care of, but did have a couple of scratches and heat stained areas. So I hired Eric from ELR Enterprises to refinish the table top. When touring Eric's shop I saw a mahogany table similar to ours that had just been refinished in a gorgeous espresso colour. After much deliberation I decided we should bite the bullet and have the entire table and six chairs stripped, sanded and refinished in dark stain. And man am I glad we did, the set looks absolutely stunning. Always loving a project, I decided to recover the chair seats myself. I got new foam, batting and fabric from The Foam Centre in Burlington. First I removed the existing fabric and old batting from the seats. Next I cut the foam to size using the wood seats as a template. Followed by cutting the the batting to size leaving about 2.5 inches of excess when compared to the foam. Then I cut the fabric leaving yet another 2.5 inches of excess when compared to the batting. I ironed the fabric so it would be wrinkle free and secured it to the wood seat with a staple gun. I made sure to pull the fabric tight as I stapled and took my time folding the corners to get nice tight folds. Black "dust cover" cut to match the shape of the underside hides the folds give this DIY project a more professional look. In terms of dining room storage we were able to reuse the sideboard from the old house. The woods don't match perfectly, but they do compliment one another. Above our sideboard we hung a painting that we saw at Interior Design House in Burlington back in June and both loved. It was a little too pricey for me to justify at the time, but considering 4 months later I was still thinking about it, Ty bought it for me as a belated birthday gift. Last, but not least we were able to hang our dinning room chandelier. We had been holding off on this until the table went in so no one would bang their head or damage the glass. Here's how the room looks all put together:
All of the windows and front door on the main level were original and in desperate need of replacing. We used Architectural Accents to install new windows and doors at our old house and they did a phenomenal job so we decided to use them again. My personal taste for windows is to have the maximum amount of unobstructed glass as possible. The front window, kitchen window and dining room sliding doors took about 5 weeks to be custom made and were installed this week. The front door I designed takes between 6-8 weeks so it will be delivered and installed in another couple of weeks. It's going to be so beautiful it probably deserves it's own blog post anyhow! Since we decided on 5 1/2 inch baseboard for the main floor, we decided to also upgrade the casings (window trim). We went with "ornamental" casings and "colonial" backbands to co-ordinate with our "contemporary" baseboards all from Tamarack Lumber. Architectural Accents installed the casings and I took care of priming and painting them to save some of the cost. We had the windows replaced "stud to stud" rather than "retrofit" which means they rip out all the old material on the interior and exterior right down to the brick. This is a more expensive and time consuming option when compared to retrofitting, which simply involves fitting the new window in to the original window frame. Stud to stud is basically new construction so you end up with a cleaner look, better seal and improved insulation. Here are the Before / During / After pictures: Huge improvement, right?
|